image_pdfimage_print

The hot mirror filter test results part 2

Intro

So in part 1 of this evaluation I introduced the hotmirror filter, its use and the two types of filter available: clip-in and screw-mount. I shared a few of my expectations as well as a few preliminary results as side-by-side samples of both types of filter next to a control image shot by a non-infrared camera. I assume anyone who read that may have made some very initial assumptions in the meantime, as have I.

There was a strategy to lettings things sit in my mind for a while rather than using what seems to be today’s fashion: a single post or video with a solid and straight conclusion at the end, I wanted to not only think about what I saw but also take a single step on the way to a careful conclusion.

TLDR: if you want to hear me say “X is better than Y” this my not be a recommended blog for you to read.

Recap

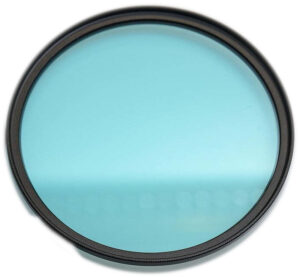
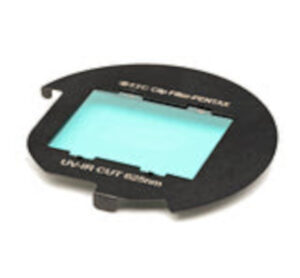
I used a regular, non-converted Pentax KP 24 megapixel APS-C DSLR body as the control, a Pentax K-3 24 megapixel APS-C DSLR body as the testbed and a single DA16-85mm lens to shoot all of the images in raw format. I tested an STC clip-in hotmirror filter against a lens-mounted 72mm threaded “normal plus” filter provided for this test by IRreCams in Germany, courtesy of Sven Lamprecht who was consulted about the test and kindly lends his cooperation.

The raw files coming out of this first test-run were converted with the open-source and cross-platform Darktable software  which is software I have used for going on 20 years and fully supported by many tutorials and websites (including by IRreCams).

The end result of this first shoot is 24 images in jpeg format with each 4 exposure series covering a 180 degree horizontal sweep from directly into the sun (but sun just outside the image frame) to a shot with the sun at by back (so roughly 0 degrees, 45 degrees, 90 degrees and 180 degrees to the sun). Each run had the same 4 exposures at 16mm which is the widest angle this lens will allow as well as at 35mm which on an APS-C camera is roughly a “normal” field of view that our eyes also perceive. Finally, each body/filter combo was put through the same exposures so the KP without any filter, the K-3 with the clip-in and the K-3 with the screw-in lens filter.
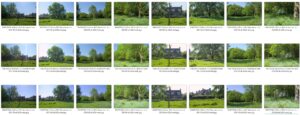
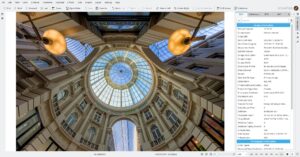
Exposure was left at aperture priority mode and F6.3 which I have always held to be the optimum balance for image quality on this particular lens. White balance was left on automatic mode and autofocus was engaged. The shots were lined up hand-held with trees and other markings in a small park as guidance. In the overview above you can see the 24 image files in the file manager on my PC, all converted to jpeg with the most basic of options in Darktable as I eluded to in my previous blogpost.

What’s next, what’s now?

Now (below) is my evaluation of this first batch of results, both in their unedited state as well as edited to try and equalize WB as much as possible and make some very preliminary conclusions on detail sharpness and clarity across the image. I’ll try and tweak some of the images beyond the first rough output and compare some individual color renderings.

Next (in a future part of this blog), the K-3 will travel with me to the harsh light of the Middle-East for a few weeks (Israel to be specific) so I can test both filters against each other in various different situations and potentially try some night shooting as well. Seeing my results from the first run, I will be using a hood this time around which will benefit both filters I expect and hope. Taking one cue from the first shoot, I will leave the KP at home because I feel I have now established enough of a baseline to not have to juggle around two bodies to make the point of this comparison.

So, get to the point!

The first images to end up on my torture bench are the ones shot to emphasize their, as Sven so lovingly put it, “known weak spots: backlight situations and inside a forest“. These are the shot which are straight into the direction of the sun with the sun just outside the image frame. And yes, straight on we get the weak spots highlighted with some flare and light streaks.

Back-lit (worst-case) outcome

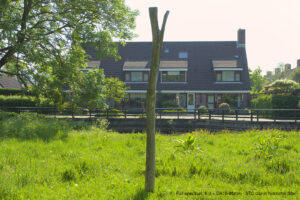
The control image which I remind you was shot with the KP and 16-85 but without hood show a neat bit of flare with one very bright spot at the very edge of the frame and a few secondary, slightly weaker, reflections a bit lower. Not a bad performance for an average lens without hood.
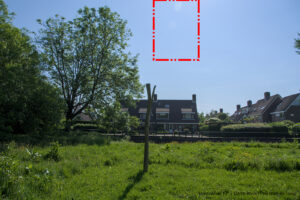
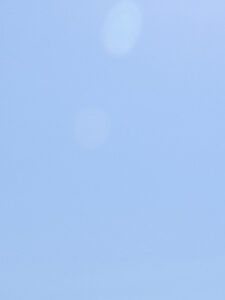
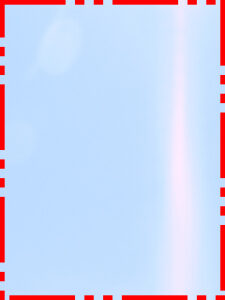
If we look at roughly the same spot (remember that all of these were hand-held) on the image shot with the STC clip-in filter, there is a drastic difference. The flare is roughly similar but it is now joined by a light streak which covers almost the entire height of the image and which has some kind of color diffraction effect (band of rainbow colors) further down which looks like what comes out of a prism. Something, potentially on the frame of the clip-in filter itself, has a disastrous impact on the image making it virtually unusable. The sky is totally bleached out across virtually the whole frame and the green of the grass and the trees is quite acceptable in the places it is not obliterated by the rainbow halo streak. The whole image seems a bit washed-out.
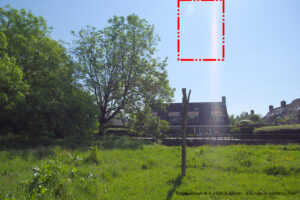
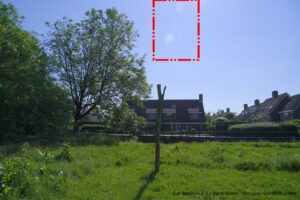
And, lastly, we look at this spot shot with the “Normal Plus” lens filter. Please do not mind the small vertical white streak to the right of the flare. I live not far from Amsterdam Schiphol Airport and these darned planes do not take my testing into account. It’s merely a plane but I thought it best to leave it in there and start cloning pixels in order to leave the image as pristine as possible. The contrail does not interfere with my conclusions about the flare. As to that flare, it is ever so slightly more pronounced than the filterless control image but, taking into account the absence of a lens-hood, it is entirely acceptable (and easily corrected in post as well). Sky color is excellent and I cannot really see any difference with the control. TBH, I was hard-pushed to find any color cast at all but overall, color temperature seems to be slightly cooler which is easily corrected in post.
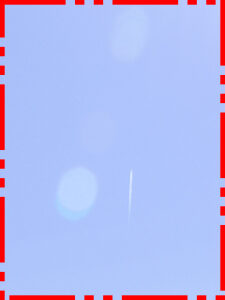
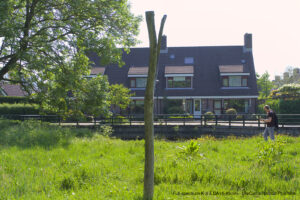
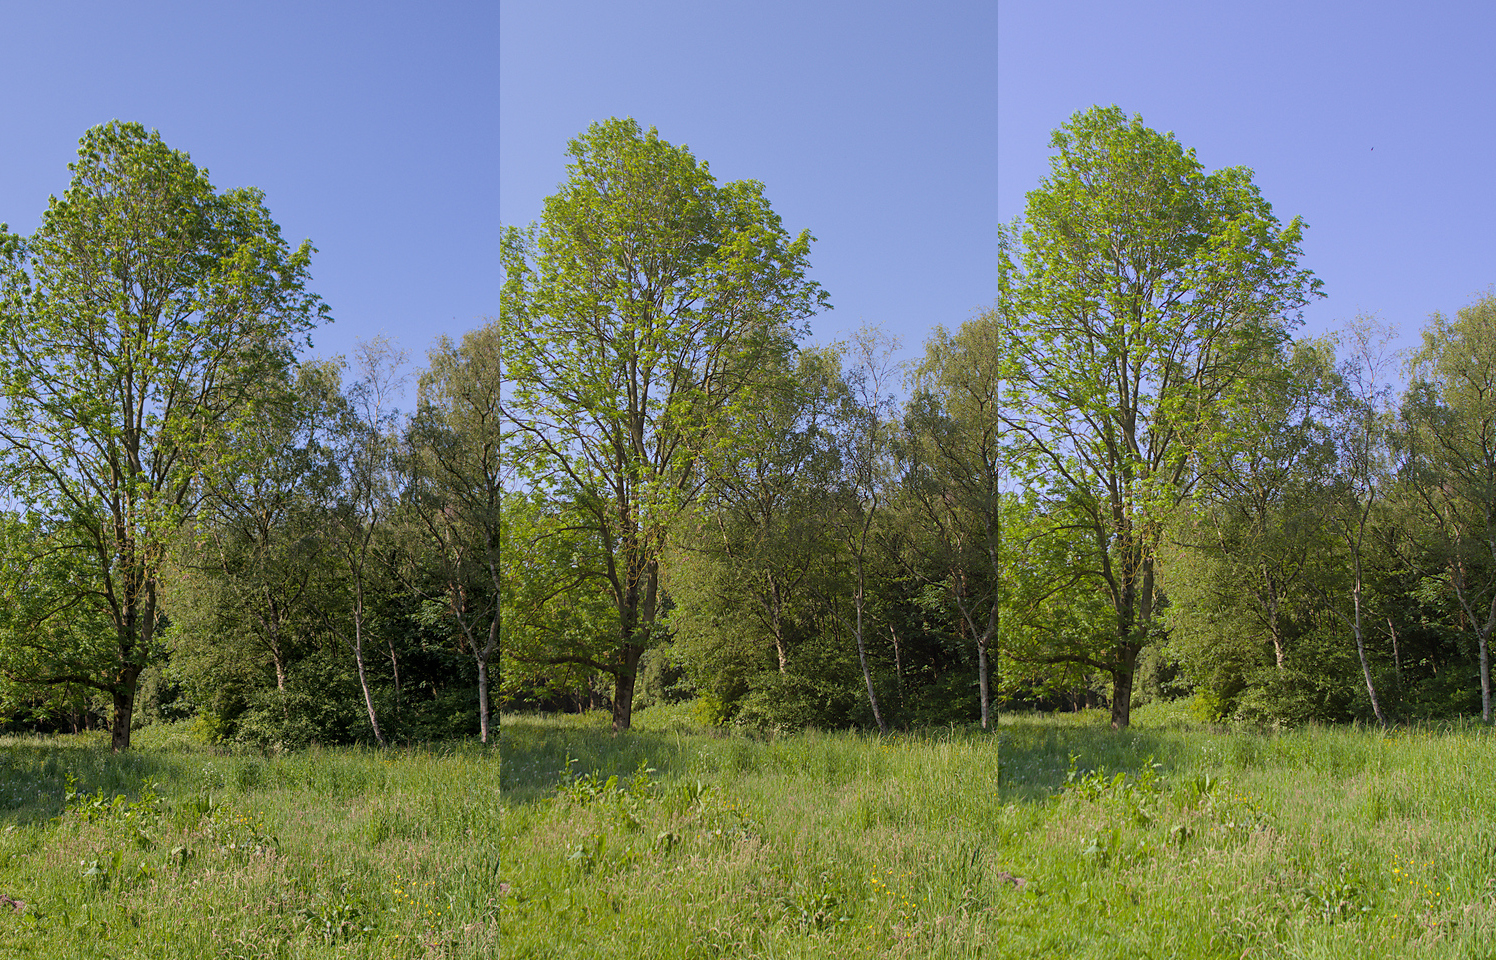
Here are a few small patches of sky and grass side-by-side. Control is on the right, STC in the middles and IRreCams on the left
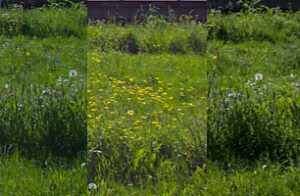
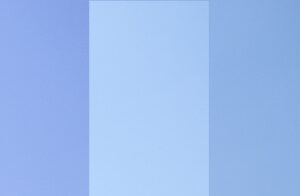
Outcome of the 16mm “worst-case scenario” is therefore:

  1. The image from the control camera is the clear winner – not unexpected as I’ve always held to not using filters unless they have a clear photographic purpose. There may also be slight differences in the way the KP sensor handles colors versus the K-3 which is of a slightly older generation. Detail sharpness and contrast is at the very high level this sensor can deliver at its base ISO and these settings (F6.3 and 1/400sec)
  2. In a well-deserved second place is the Normal Plus lens filter from IRreCams which really leaves nothing on the table. The very slightly more pronounced flare is merely the unavoidable result dictated by the laws of physics and the outcome of adding two extra refractive glass-air boundaries for light to reflect off. All in all, I do not own many filters with such an effective coating as this one and I’m sure that using the lens-hood as anyone sane would do, would really make the outcome indistinguishable from the control other than the slightly cooler color temperature. Detail sharpness and (micro)contrast are impeccable.
  3. The STC clip-in filter is the big loser here. Under these conditions, with a wide-angle lens under backlit conditions, the outcome is simply unusable. Sharpness, contrast and color all suffer horrendously.

The same back-lit position but now zoomed in to 35mm
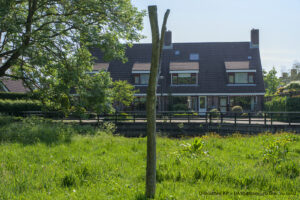
A lot of differences have now disappeared and both the clip-in as well as the Normal Plus filter deliver decent results even though the “naked” control beats them both hands down in terms of overall contrast and color fidelity. When it comes down to comparing sharpness and detail, the Normal Plus filter pulls ahead slightly over the clip-in filter but they both deliver acceptable results.

Outcome of the 35mm scenario

  1. No surprises here, the KP without filter (or rather with its factory-installed filter bonded onto the sensor) wins again
  2. The IRreCams Normal Plus filter comes in a respectable second place. Color, contrast, sharpness are all acceptable for everyday shooting, vacation and family snapshots with the sole exception of the most demanding nature shots. The greens of both grass and trees is slightly more luminous than the control but this again can be dealt with easily in post – even in batch mode.
  3. The STC clip-in filter comes in surprisingly decent. Still in last place but only by a small margin. Equally usable for everyday shooting, vacation and family snapshots

Next series at 90 degrees angle to the sun – polarization test
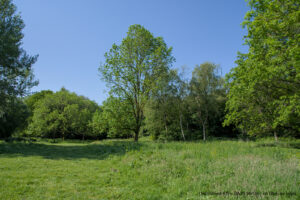
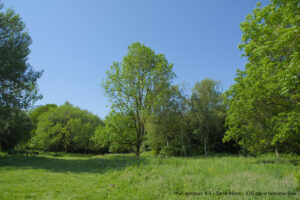
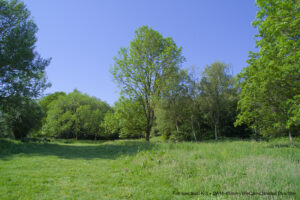
This is where the STC clip-in starts to match the Normal Plus screw-in IRreCams filter and in one aspect even overtakes it slightly. As you may be able to see on these thumbnails (and remember that the larger images are available in my gallery) the screw filter inroduces a tiny bit of a purple cast in the sky. It is easily dealt with by addressing the WB adjustment in Darktable rather than accepting the camera settings. Sharpness, contrast and detail are perfectly fine across all three test images and I’d be harp pushed to determine which is produced by which filter combination if I didn’t know.

Same applies to the 90 degrees at 35mm focal length:
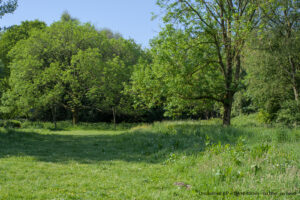
Outcome of the 16 as well as 35mm scenario at 90 degrees to the sun

  1. I’ll still give the control first place but I’d stress again that this may just be the improved output of the KP’s sensor over the K-3. Even though the megapixel count is near-identical, the KP was released in 2017 and the K-3 is a full 4 years older
  2. This is an tie for second place for the clip-in filter and the screw-in version

Next series at 180 degrees angle to the sun

I will actually leave the conclusions to you as you can see the images in the gallery itself. The trend set with the 90 degrees batch continues and both filters perform equally well. Yes there is a bit of a cooler cast on the green foliage for the Normal Plus filter but that is a simple WB issue which can easily corrected for in post. Both filtered images shot with a full-spectrum K-3 compare favorably to the similar image shot with an unmodified KP DSLR and the same lens.

Overall conclusion after round 1

I would find the Normal Plus filter as supplied by IRreCams superior to the STC clip-in filter from a photographic perspective. In terms of color, detail sharpness, contrast and resistance to flare it clearly pulls ahead in most (but certainly not all) scenarios. The STC may still be interesting from a financial perspective as one size will truly fit all of your lenses while obviously a screw filter needs to be purchased for every thread size of every lens. Alternatively you may use step-up rings but that would introduce its own set of issues such as not being able to use the lens hood.

I would say that in real life, I might be tempted to only use the clip-in if my expectations are to shoot infrared images as well as simple family vacation snaps with a few lenses in my bag and light travel. If however, my plans are to see the sights and take some decent land- and cityscapes as well as architecture shots using wider angles, I would heavily lean towards the Normal Plus filter with its superior contrast rendering and resistance to flare.

Next time

What I have not covered and will do in a few weeks time is indoor shooting, evening/night shots and shooting under very harsh Mediterranean summer light conditions. Watch this space!  Until then, have a great summer!
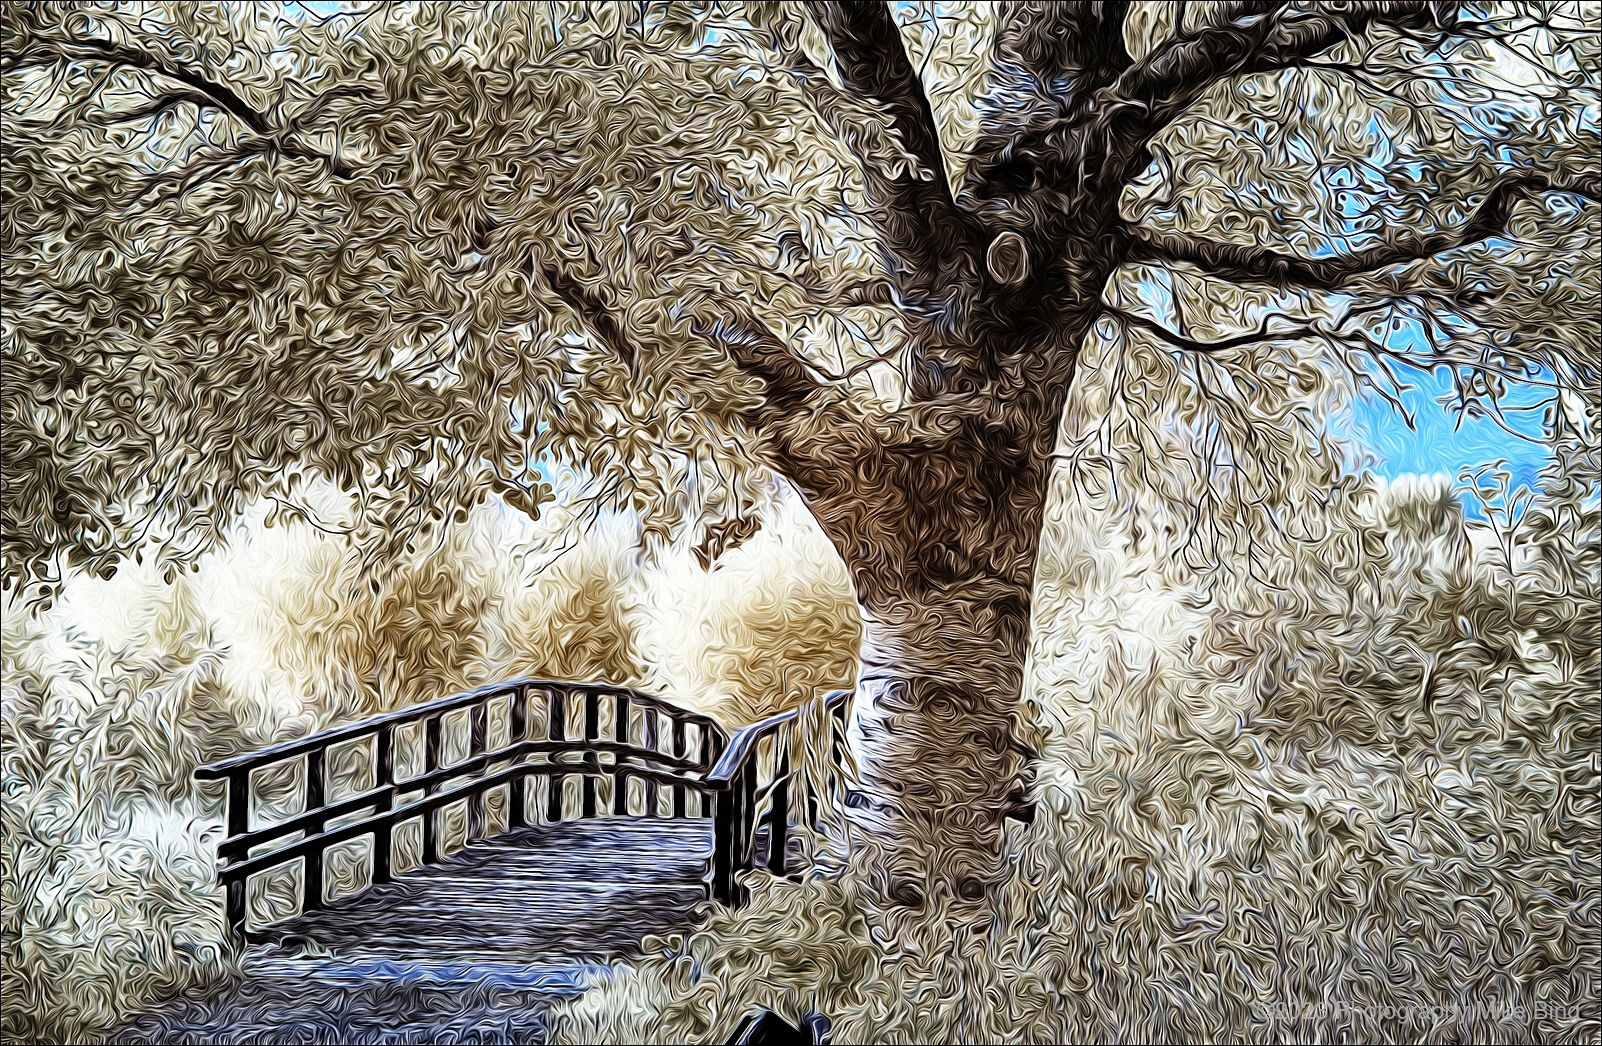
Making good on a LinkedIn promise to disclose processing

Introduction

Back after a long time on my own blog to write a post. I’ve been distracted over the past year by some personal tragedies, recently the war against my family and friends by Hamas. Not all is bad though as one of the more positive distractions was becoming a grandfather for the first time. I stopped posting images on LinkedIn and Facebook as well as on my own albums on this site for quite a long time and slowly but surely I’m picking things up again. Call it therapy if you must.

One thing I always do when the weather outside is frightful and the fire is so delightful (thanks Frank!) is to go over my ever expanding image database, choose an image which I remember shooting and revisiting it in order to process it into a new work. Maybe simply because software has improved over the years or simply because an old dog (me) has learned a few new tricks.

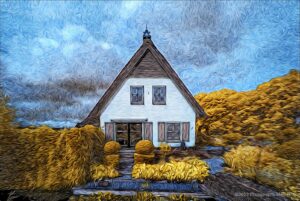
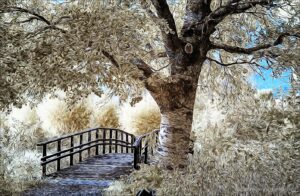
After one of my recent post on LinkedIn showcasing this local house in one of our town parks, I received a lot of questions about the techniques used.

People asked whether I am a painter or if I shot a photo and painted over it. I’m of course extremely flattered to have people think of my artistic capabilities in such a way but reality is a harsh mistress!

None of the above apply as the answer lies in the application of a software package called GMIC. Obviously, the software has a huge number of variations and different outcomes depending on the settings one applies so it is far from automatic or hands-off.

I’ll gladly take credit where credit is due by learning how to apply the various options in a certain way such as to reach a composition I find pleasing.

One more detail is that the starting image is one that comes out of my infrared camera, a digital reflex which has been operated upon to remove some inner components so it can capture near-infrared images. You can read more about that in last years posts about the theory and how I obtained my camera.

So, what is this post about?

Well, I intend to take another image, taken by that very same IR camera and detail its processing from a raw image file right through to the finished product. I’ll do it on another image for the single purpose that this will allow me to document the intermediate steps and take screenshots to insert into this blogpost.

Let’s start by saying that if the concept of so-called “raw” files is not something you are familiar with, don’t worry. Think of it as a digital negative that still needs to be developed and printed, unlike the images you usually use which are jpeg images – the finished “prints” if you will. Most cameras will automatically generate those jpegs and save them to a memory card for you to transfer to your PC and/or upload to Instagram, Facebook or send them to someone via other means. Those jpeg images are like instant Polaroids or maybe store-printed snapshots. You cannot control how they look besides some slight editing prior to using them.

With raw files directly off a camera’s sensor, you control everything and you sidestep whatever pre-programmed look  the camera manufacturer built into your camera or phone’s electronic processing capabilities.

Alright! Let’s start

by showing you the base image as it was captured, right next to the final display-ready work. When I come back to this post later this week, I’ll start taking you though the steps. I use open-source software which is why I also believe in open-sourcing my editing process so I invite you to use it as much as you want. I’m sure you can do similar things with other software too so don’t let that stop you being creative.


You can click your mouse on the finished image which will take you to a larger version in my web album so you can see it in a more pleasing way than in a blogpost.

See you next time!

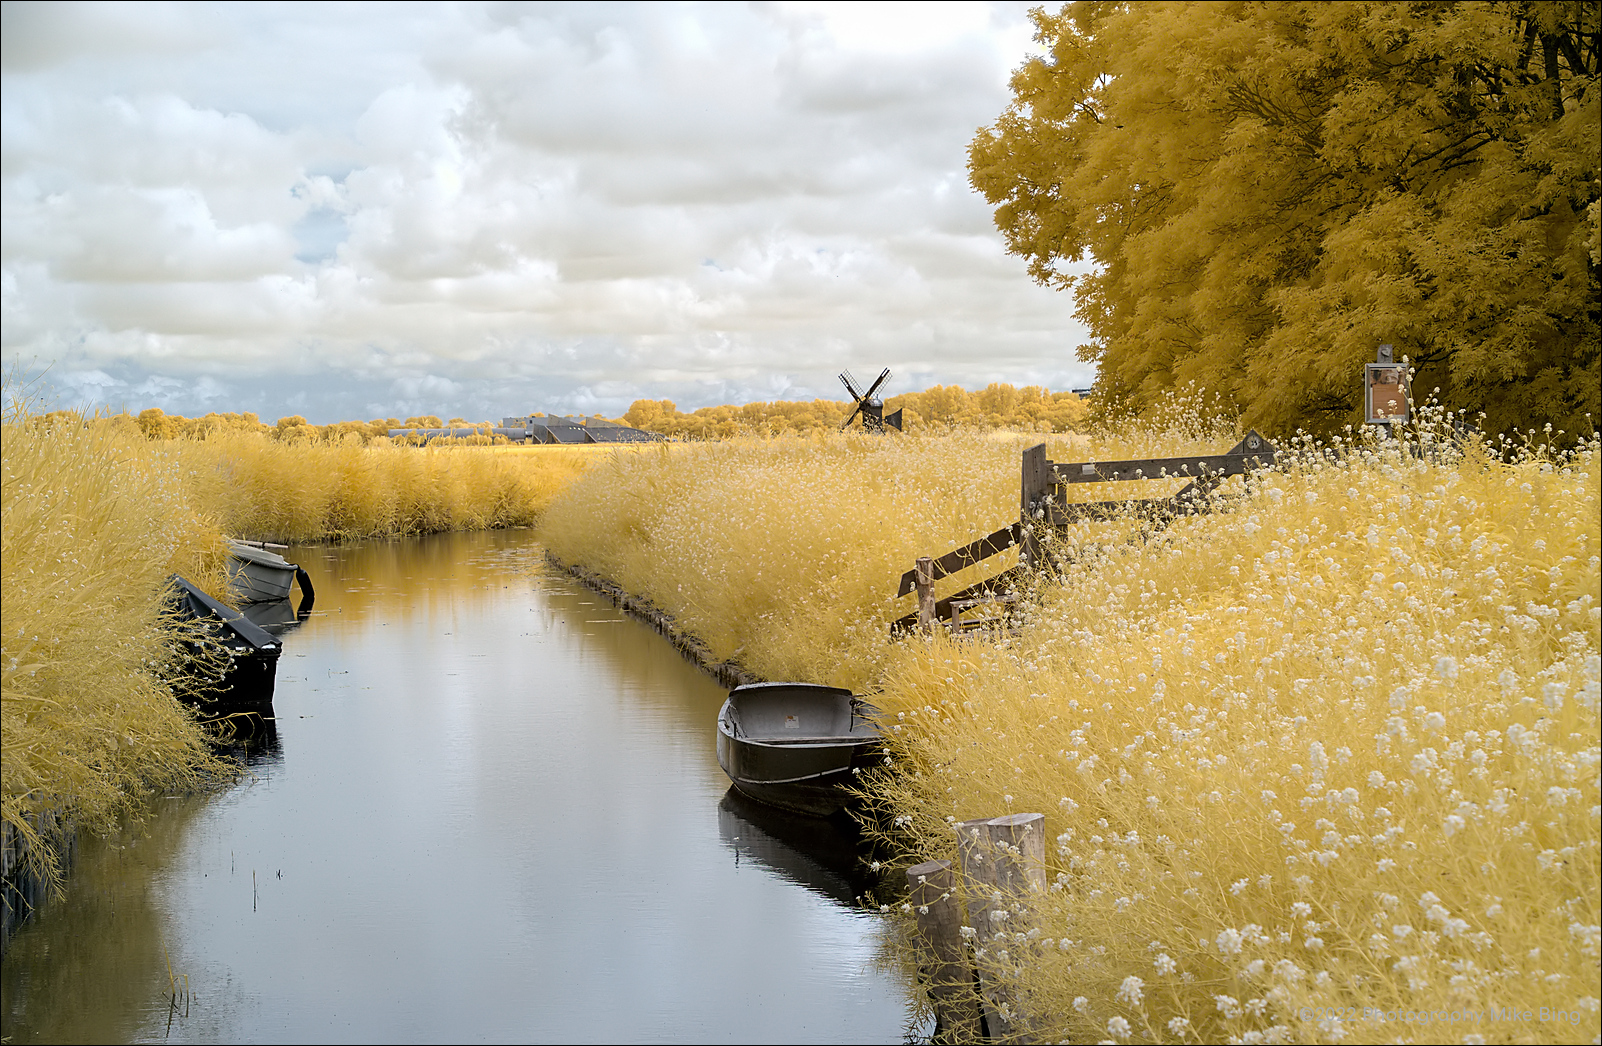
First steps in IR photography – a gimmick or an artform? Part 2

Recap

So, in Part 1 of this 3-part series documenting my careful first steps in the area of infrared photography I discussed a few points that piqued my interest in IR photography. Some background details were described and I eventually sent of my K20D to be converted. Onto Part 2 we go!

He’s dead Jim!

After about a week or so of sending the K20D to Germany, I received the following message from the guy doing the conversion:

Today I have to come back to you with sad news. I did the conversion of your camera but there is a malfunction now. The camera does not tun on but reports an empty battery (blinking battery on the upper LCD). I have triple checked every cable connection and solder point, but I was not able to find the source of the malfunction. It seems to be a mainboard error, something that can happen when touching such “old” hardware.
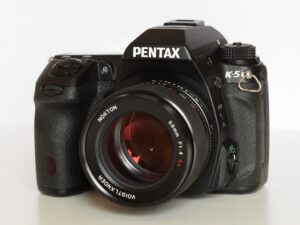
Well so much for my breathless wait. However, my choice of camera may have been somewhat tainted as I found out while my camera was on its way. It finally came back to me how flawed the live view mode of the Pentax K20D really was. It did not rely on contrast detection AF but it would rather flip down the mirror, focus using the regular phase detect sensor, flip up the mirror before the shot. Kind of like touching your left shoulder with you right hand behind your back. Also, the K20D was not really great in the image noise department (anything over ISO400) and I had by now read up on ISO noise issues with IR conversions.

A change of plans, and camera model

And, yes, my contact came back to me almost immediately and offered to source me a replacement K-5 for a small difference of €80. A K-5 which of course is immeasurably more suitable for IR shooting due to its true live view contrast detect focus and superior noise performance. These improvements signaled the move by Pentax from Samsung sensors used in older models to Sony sensors. He said:

I think the extra money is worth it, because Color-IR (630 nm) is always very demanding on the noise performance of the sensor. By pushing the white balance to extreme values the noise will be amplified and becomes easily visible in the image. Just let me know what you prefer!

I agreed and a short week later, a Pentax K-5 together with charger and battery was delivered to my doorstep. First of all, it immediately felt so familiar to me as I owned the K-5 as well as its later incarnation, the K-5 IIs, for a couple of years. Only setback was a weak mainboard battery which caused the camera clock to reset every time I had the battery out for recharging. I quickly found out that this is not uncommon and can be “cured” by always having a second battery ready to pop in before the clock circuit capacitor got a chance to discharge too far. Some €36 later, that was all taken care of and my experimenting was about to begin in earnest.

Let’s talk software first

So, dealing with IR images invariably means a bit more processing is required because an IR image coming straight from the camera is pretty lifeless and looks weird, with some very flat colors and little detail.

Created with GIMP

Reading up in various places I started understanding the concept of swapping color channels, applying colour lookup tables (or LUTs as they are commonly called) and the distinct output of various IR filter types. From 550Nm (nanometer) wavelength which ends up a riot of bright colors and al the way to IR cutoff filters of 720Nm and more which result in almost monochrome images. I had selected the middle-of-the-road 630Nm to stay on the “safe side”. The color chart to the right of this paragraph and a good deal of guidance came from the website of the company which did the conversion of my camera, IRreCams in Germany.

I also read up on the importance of setting the correct white balance in the raw converter rather than in the camera as the latter will not be able to capture the extreme ranges required. Lastly, the already discussed noise beast reared its ugly head and I quickly familiarized me in the ways to control the beast (wherever possible). Luckily I have some experience in shooting high-ISO images and have a decent grasp of noise reduction methods, upsides and downsides.

To open-source or not to open source. Thàt is no question at all (to me at least)!

Shakespeare really had no way of knowing which horse I would bet on in his times, but I can assure you I had full confidence the image editing suite I have available to me is móre than capable of doing IR images justice. In some ways, this software will even outperform commercial software but in all ways it offers choice, tons of choice! Whether you decide to use one particular raw converter or another, one bitmap editor or another, one noise reduction software or another, open-source software users are spoiled for choice.

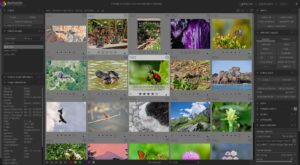
I decided on Darktable (version 3.8.1 at the time I started this blog, now up to version 4.0) for my raw conversions, channel swaps, white balance edits, color mapping (where necessary or helpful), contrast and clarity and loads more besides that. Darktable is capable of delivering a publication-ready jpeg image right off the bat.

For pixel edits, like taking out small dust spots, using GMIC for some artistic renderings, working with image layers, I have really nothing which can touch Gimp, now up to version 2.10.32 on my operating system. A true powerhouse, especially if decked out with all of the available plugins and scripts. Important ones would be liquid rescale, GMIC, resynthesizer to name but a few.
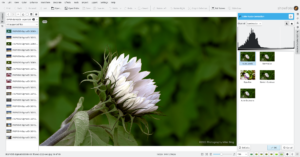
Lastly, Digikam and its builtin image editor Showfoto not only for tagging and rating images but certainly also for some edits for which I’ve yet to find a better replacement elsewhere. Especially the auto color adjustment and sharpening routines are great but it also allows HDR alignment and merging via align_image_stack and enfuse.

Next time, part 3, some examples and lessons learnt!

But for now, a sneak preview to the other part of my website which contains an album with IR images shot over the past few weeks. Have a look and let me know what you think!

The making of “De Passage”- open source software or not?

Introduction

One of my favorite shots of the past week was that of a late 19th century shopping mall in the Dutch city of The Hague called “De Passage”. The place was built in- or around the same time as the famous Galleria Vittorio Emanuele II in Milano, Italy. The styles are comparable as well, a mix of Neo-Renaissance and expressionist styles.

I decided to try to show how I got to this result by two different routes; the first using a mix of commercial and free software and the second consisting of a totally open-source and free workflow. I feel both routes actually led to an extremely similar result, with minor details being treated slightly differently by the software used. The first step of the process also ended up dictating slightly different treatment further down the line.

All software used is available on all three major operating systems, Windows, Apple OS X and the OS I use which is Linux (Manjaro in my case).

Software versions:

  • Photomatix  for Linux v22.0 by HDRsoft Ltd
  • NeatImage Pro Edition v9.0.0 (64 bit)
  • Darktable v3.8.1
  • Digikam v7.5.0
  • LuminanceHDR v2.6.1

And I used Gimp v2.10.30 to make the screenshot combinations for this article.

End results compared

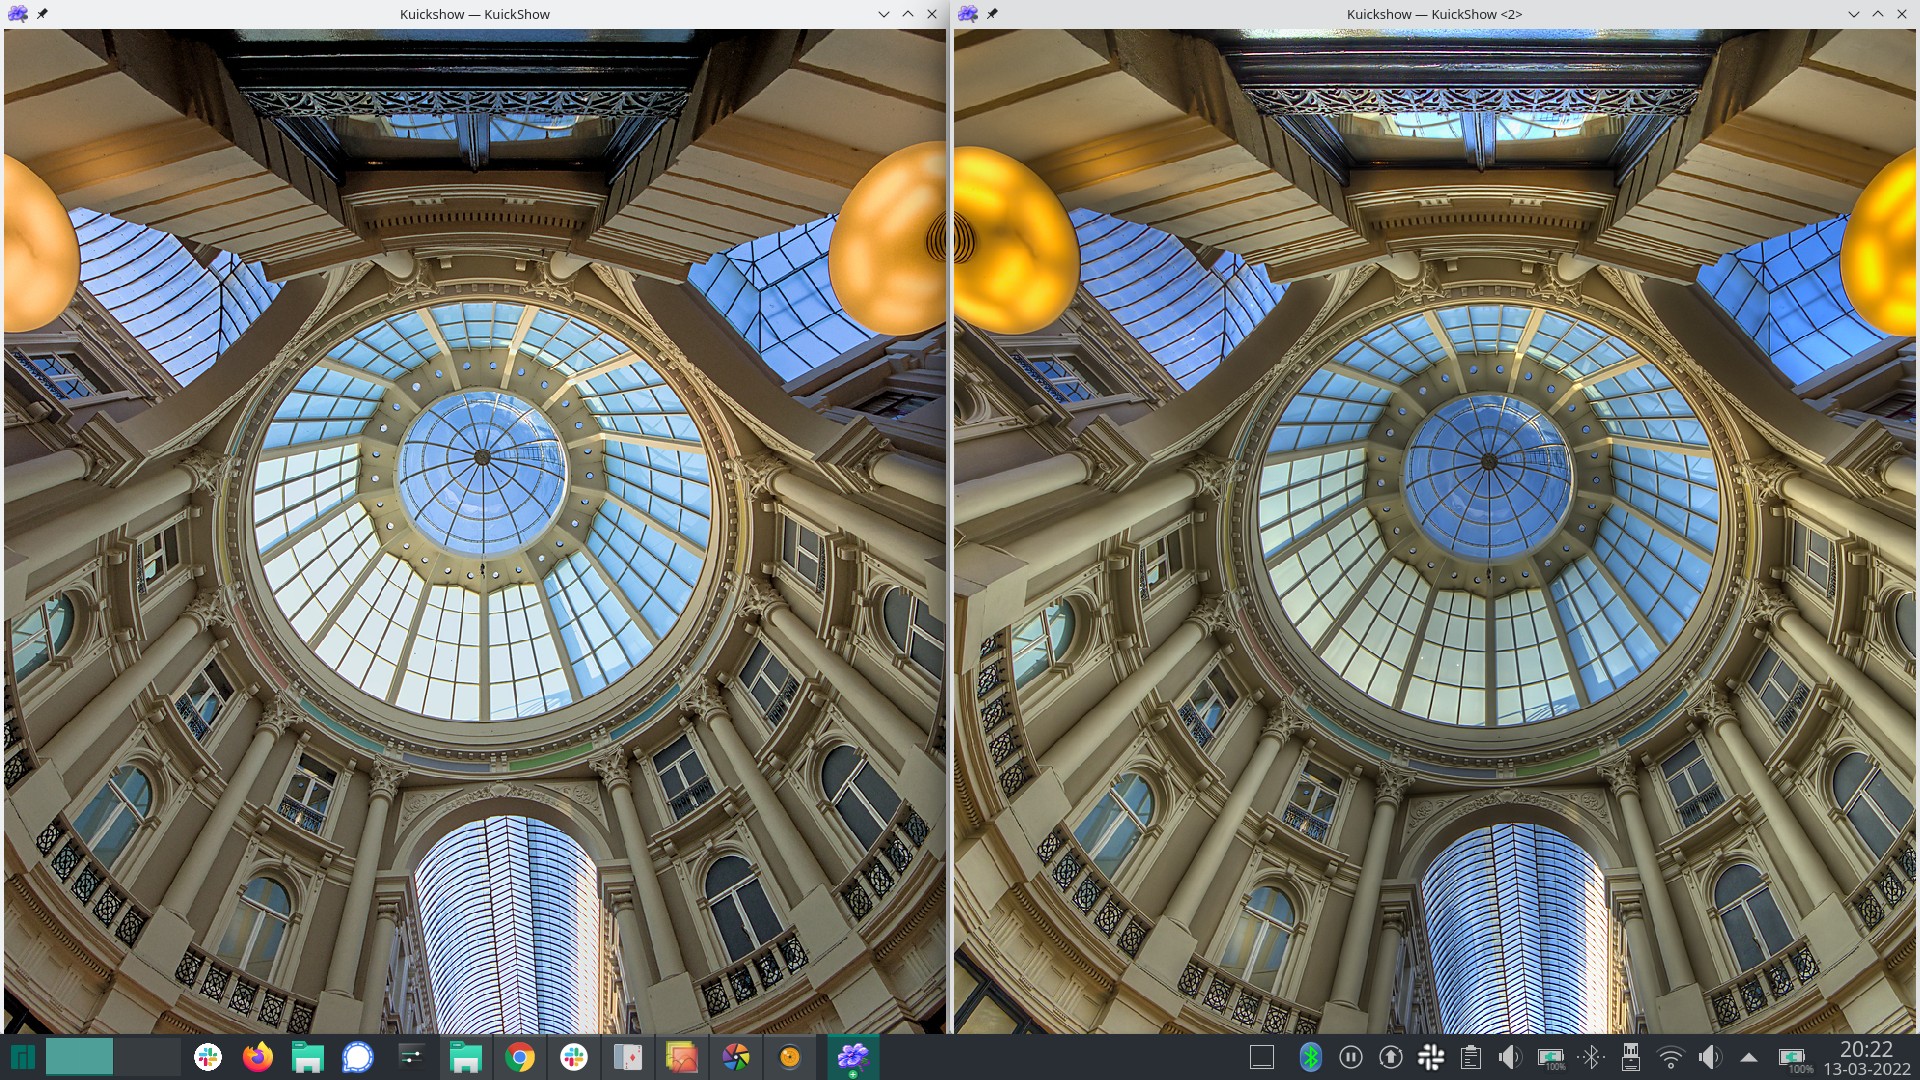
Let me start with a side-by-side screenshot of both end results, for now not saying which image is the result of which workflow. Let’s just say there definitely are subtle differences in color temperature and contrast but it seems a matter of taste as well as individual skill to bring these end results even closer together. I stopped tweaking at this stage but could have gone on even further – I saw no benefit to go beyond this stage.

The base material

I started out with these 3 hand-held exposures, shot on a Pentax KP with a Sigma 8-16mm ultrawide zoom lens. The three exposures were, from left to right, a third stop underexposed, two stops underexposed and one and a third stop overexposed. This was done to capture as much of the dynamic range as possible on a beautiful sunny afternoon outside with artificial lighting inside.

Aligning, merging and tone mapping the three exposures

As the shots were hand-held, tiny movements between shots will affect the final image sharpness and cause “ghosting” or slightly double contours of edges in the combined image. The software used will detect a large number of corresponding details in all of the images and will overlay them such that ghosting is avoided after which all of the tonal ranges from all three exposures are combined into a final combined image. This creates a so-called high dynamic range or HDR image. This image has details from each of the three exposures but there is such an amount of detail involved that this can neither be shown on-screen or printed. An extra step is needed, the “tone mapping” stage where specific algorithms will compress the large amount of image data into a compressed tonal range suitable to be viewed or printed.

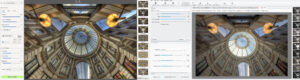
At the initial merging stage, both of the software packages used performed equally well (and almost with the same processing speed too) but the various tone mapping algorithms are quite incomparable. At this stage we are looking for a rough version so this should not be a barrier but I have to admit the non-F/OSS package used (Photomatix) on the left was a lot more predictable in selecting the algorithm versus the final output. Photomatix was also faster in tone mapping and storing the result than the F/OSS software, LuminanceHDR, shown here on the right. One more small observation was that it seems the available screen area was better used by Photomatix, leaving more of the image to be judged. Previews were relatively instantaneous in Photomatix where recalculating a different tone map was quite lethargic at times in LuminanceHDR.

Processing the LDR output

So here I used the same free software for both tone mapping outputs even though I had to change the parameters used on each base image quite a lot to get to a comparable end-result. I’d have to admit that the Photomatix image needed less tweaking of levels, curves and white balance.

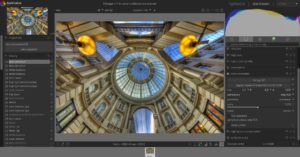
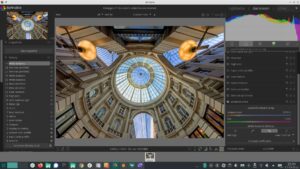
The Photomatix output in Darktable

The LuminanceHDR output in Darktable

The last step, noise reduction and sharpening

Non-free: NeatImage

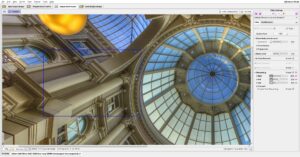
For the non-free workflow I used NeatImage, a reasonably priced cross-platform software package available for Windows, Linux and Apple OS X. This has become my go-to software for final sharpening due to the fact it analyzes the image and finetunes the sharpening and noise reduction variable in accordance with the amount of noise in the image. The square outlines an area that already had a preview of noise reduction and sharpening applied versus the surrounding original image.

Free software: Digikam/Showphoto

Digikam is a free digital asset management (DAM) package with built-in image editor. Digikam is, again, available for all three major computer operating systems. It has powerful sharpening and refocus functions but somewhat weaker noise reduction facilities than NeatImage. As long as I kept that in mind by doing part of the noise reduction in the preceding Darktable step (DT’s profiled wavelet noise reduction is quite powerful), this did not present too much of a challenge.

The end results

Free software workflow

Luminance HDR 2.6.1
Tonemapping parameters:
Operator: Fattal
Parameters:
Alpha: 1
Beta: 0.9
Color Saturation: 1.5
Noise Reduction: 0
——
PreGamma: 1

Non-free software workflow

Conclusions

I have to admit that I found the workflow using two commercial packages (Photomatix and NeatImage) slightly faster in operation and quite a bit easier to steer in the direction I wanted – let’s call it predictability. Having said that, I’ve grown a bit lazy over the years and I have shown that both options can in the end deliver quite comparable results. The quality of those results on the open-source software side is more dependent on operator skill. Even though I am an open source veteran of twenty plus years, I truly enjoyed working with Photomatix and NeatImage. Part of the charm is the fact both software companies, even though they focus operations more on Windows and Apple software, have made native Linux versions of their software available at reasonable and competitive prices, including quite a generous update/upgrade plan.

I can recommend both ways of working and both can and will co-exist in my workflow. I have already seen that certain images will lend themselves better to one workflow than the other. That’s why it is nice to have the choice.

Order prints? (only available in certain countries)

[wadm_artwork artid=”964542″ medium_id=3 size=xlarge]