image_pdfimage_print

The hot mirror filter test results wrap-up (part 3)

Intro

So where in part 1 of this evaluation I introduced the hotmirror filter, its use and the two types of filter available, I continued in part 2 with preliminary results as side-by-side samples of both types of filter next to a control image shot by a non-infrared camera.

Again I’d remind you of something I stated before: if you want to hear me say “X is better than Y” this my not be a recommended blog for you to read.

Methodology – this time

So where in part 1 I introduced some technical concepts as well as the testing methodology I had drafted, Part 2 was a deep dive into the results of a shoot pitting a regular camera body and lens against a full-spectrum converted camera with the same lens but two different filters: the in-mount clip-in filter by STC Optics and the 2nd-generation screw-in filter provided by IRreCams.de . Comparison was done at 3 focal lengths (16mm, 35mm and 85mm) and on a bright sunny day with the sun at various angles (0, 45, 90 and 180 degrees) to the sun. For the full outcome I’d refer you to the conclusions paragraph in Part 2

This time I took the full-spectrum camera with me to a Mediterranean country to see if the outcome would be different under different lighting conditions and with higher levels of UV and temperature fluctuations.

The relevant web-albums for you to check

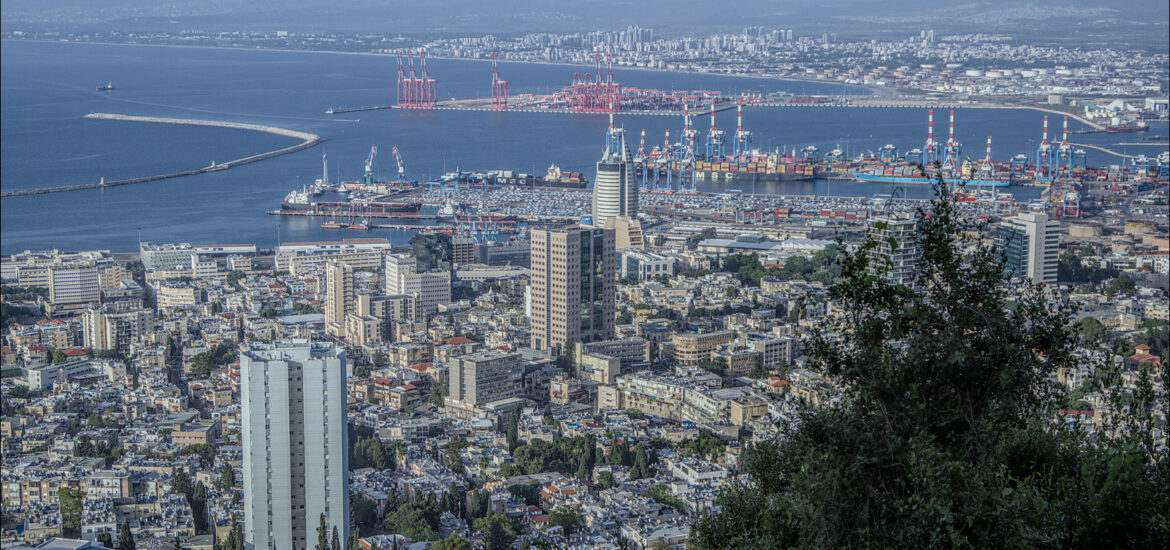
You can see the results I got on two different days (and different elevations on a mountain) in album 1 and album 2. I leave it up to you to spot the differences. A few of the comparisons are shown below.


Container ship with MSC branding docked at a busy port with cranes and shipping containers.

Side-by-side comparison of Normal Plus and Clip-in image quality with labeled sections. Side-by-side comparison of Normal Plus and Clip-in image modes with a port view.

Why only at 16 and 35mm focal lengths? Because this particular lens is not the strongest performer at 85mm, its extreme tele-setting, which would probably even out any comparison or invalidate the results.

A few of the results on the other shooting day starting with a single evening shot – as I dd not bring a tripod, the blue-hour shot below was as close as I got to testing at night:
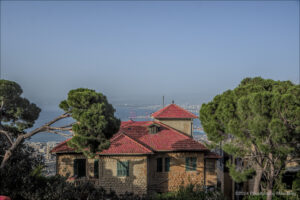

A historic house with a red roof and stone walls, surrounded by trees in Haifa. Aerial view of Haifa showing buildings, streets, and a prominent golden dome structure.

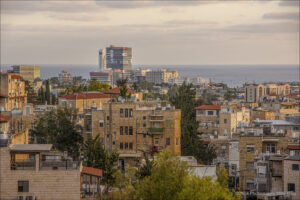
A view of Haifa showcasing buildings and the coastline in the background under a cloudy sky.

A cityscape view showing buildings and streets during dusk with lights starting to illuminate.


Final conclusions

In general, I’d like to divide my conclusions into two distinct categories, usability and “ease of use” against pure image quality. To start with the latter, image quality:

Image quality

Assessing image quality comes down to some general impressions as well as a more critical view of sharpness, color accuracy and contrast combined with any very apparent issues such as the lens flare observed with the clip-in filter in Part 1 of this blog.

Overall, the Normal Plus filter supplied to me for this test by Sven Lamprecht of IRreCams in Germany (same company that converted my camera to full spectrum) had a more consistent performance with superior sharpness and detail at focal lengths between 16 and 35mm and identical performance the the clip-in filter at longer focal lengths. But as I explained before, it may very well be due to another factor being the lens itself which slightly drops it performance below the threshold required to identify filter-introduced variables.

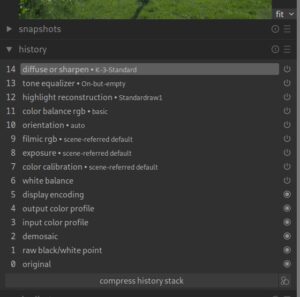
Literally the only “issue” if I should at all call it that is a bit of a color cast under some lighting conditions which was most noticeable in blue skies which came out slightly purplish. This was easily handled by setting a white balance based on the image itself rather than accepting the WB set by the camera at the time of shooting. As I always shoot raw (and convert with Darktable) I found this such a minor issue that I’d not hold it against the filter quality-wise.

Usability conclusions

I can say as I did after Part 2 of this evaluation that I find the Normal Plus filter as supplied by IRreCams superior to the STC clip-in filter from a purely photographic perspective. I might be elect to use the clip-in filter if my expectations are to shoot infrared images as well as simple family vacation snaps with a single (non-UWA) lens and light travel. When switching lenses, the clip-in filter can stay in the camera’s lens-mount as long as you do not angle the camera downward.

Another factor is sturdiness and ease of cleaning and again, I have to give it to the Normal Plus filter. Easy to clean with a lens cloth, sturdy screwthread and also super nice to handle. The clip-in feels as if it would snap in two if you hold it the wrong way and the filter material itself seems very thin and delicate. I’d use a blower and soft lens brush on it but certainly never a lens fluid and cloth.

One more observation which I left out last time is of course the viewfinder image. Although exposure and focus are consistent if using the optical viewfinder or OVF rather than live-view is that with the clip-in filter you are looking straight through the lens via the camera mirror which leaves the bluish hot-mirror filter out of the optical path and leaves you with a bog-standard viewfinder issue as with any unconverted DSLR. With the lens-mounted screw-in filter your OVF turns rather bluish and makes it easy to assess real colors in the shot. I strongly preferred using live-view in either scenario but for quick snapshots or under extremely bright daylight conditions, the OVF turned out a life-saver at times.

Last words on the subject (and one true IR image shot with the same camera and lens)

I have enjoyed doing this comparison tremendously and am rather surprised by its outcome to be quite honest. There is something quite technically different between placing a filter in the lensmount, behind the lens’ back element and screwing it on the front of the lens itself. I certainly recommend the Normal Plus filter when image quality is extremely important – if cost is an objection, get it for your best lens (or the largest diameter and use step-down rings). The clip-in though is an entirely valid and useful item to have and to use, turning your IR camera into a regular one with all but the most extreme wide angle lenses and under most circumstances except for those with a bright light source just outside the frame.

So, HAVE FUN!

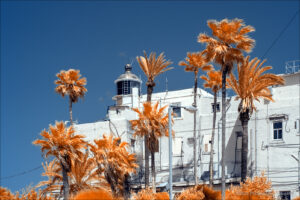
A parting IR shot taken during the same period and the same lens
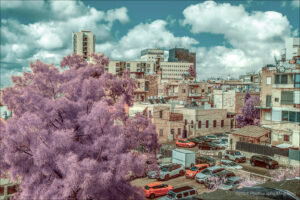
Urban landscape featuring a purple tree and various buildings in a city setting.

[EDIT]Additional remarks and Reddit response

After posting this blog I received an extremely interesting response from Reddit user Astrobarn who is very active in the infrared photography group on that platform.

I’m not sure I agree with the IRreCams filter being tied for second in a lot of those shots where it produces purple skies.

I wonder if the STC streak could be mitigated by blacking the edges of the glass in the clip filter, for some reason they leave them rather sharp and reflective with no black paint on the edges which would help immensely.

Perhaps you could do a more detailed sharpness test because I’m not seeing the dramatic drop in sharpness you suggested at 16mm. Is the total filter stack between the sensor and lens thicker than stock with the clip filter installed? That would definitely explain peripheral sharpness issues due to astigmatism and field curvature. If one plans to use clip filters you should have the full spectrum conversion done with the thickness of the clip filters factored in.

I’ll take an even closer look at the results but what really peaked my interest is his/her suggestion that blackening the edges of the STC might be a fix for the ugly light streak and flare I experienced when shooting wide and with the sun just outside of the top of the frame. This sounds so common sense I’m rather ashamed I did not even consider it before. Bare metal edges can- and will reflect light something fierce of course.

The other suggestion of doing a conversion with the thickness of the clip filters factored in does make sense but, and this is a big thing to me, sounds fairly limiting as that automatically means the use of lens filters is no longer optimal. If you’re committed to use clip-in filters only, it certainly is the way to go but seeing I want to keep my options open another argument for using lens filters presents itself. Those clip-in filters are hard to come by in Europe (mine came with a hefty Customs import charge on top of the already high shipping charges) so I’m not sure I’d recommend going that route unless your are based in the US. r/Astrobarn also wrote:

I think you will need blacking ink or paint, sharpie is invisible in IR and UV and only blocks about 50% of visible light.

You are correct the camera is mostly only usable with clip filters, a thinner than expected sensor stack tends to have less of a negative effect other than potentially losing infinity focus. My camera modification is designed around clip filters, with a clear filter for full spectrum, a UVIR filter for visible and then custom filters for different spectra. I use full spectrum by far the least often.

These comments are extremely valid and may certainly be useful to some readers (with similar use cases)  which is why I’m adding them to my blog with the previous approval of r/astrobarn of course.
A long-awaited test! The hot mirror filter part 1

A long-awaited test! The hot mirror filter part 1

Intro

Ever since I acquired my first infrared-converted camera (the 630nm Pentax K-5) I tremendously enjoyed infrared shooting and wanted to expand my horizons a bit more. Some 4 months ago I acquired a Pentax K-3 which – same as last time – was converted to infrared by Sven Lamprecht of IRreCams.de and like before, I have absolutely no issues with the service. Conversion was fast and the shipping and payment solutions offered were very satisfactory. This time I wanted more flexibility so I had this body converted to full-spectrum (280nm I believe) which would enable me to experiment with various wavelength filters.

I had a blast shooting at 550nm (acquired from IRreCams again), 590nm (China Rocolax brand via eBay), 665nm (Heliopan from a German distributor) and finally a 720nm (a trustworthy Hoya quality R72 filter purchased from a Dutch photo-superstore) and using various techniques to extract different colour and/or B&W versions using Darktable as my raw converter of choice and Gimp for post-processing of the final images. Of course the videos provided by IRreCams were excellent guidance but I cannot neglect to mention various Youtube channels and software sources such as Rob Shea and Nicholas both with excellent tutorials on infrared processing. Inspired by those resources and other websites and forums, I also invested some time into working with colour LUTs (Look Up Tables) to complement the channel swap technique I thought I had started to master over the past year. Examples can be found in my Infrared album online.

So, all is well?

No, not really. I still had to choose which camera body to bring along when traveling and although as long as I stay close to home it is no problem to bring more than one DSLR, when on business trips or on family vacations I thought it would be convenient to have a single camera to shoot both IR as well as visible light photography. Enter the concept of a “hot-mirror” filter. Normally, that is the filter which sits over the sensor in any regular camera and prevents near-infrared and ultraviolet light to inversely impact your regular and expected image quality. As I explained in an earlier blog, that is the filter which infrared conversion services remove and replace when converting a camera to infrared. A hot-mirror filter can be used after conversion to re-enable the camera to take regular visible-light images.

First thought – a clip-in filter

My first thought was to get a clip-in filter which sits in the lens mount and allows any lens to be used without external screw-in lens filter (expensive to get in many thread sizes). It’s a bit fiddly to insert but I thought it would offer a convenient way to test my hypothesis of having an “all-in” DSLR for light weight travel. I use Pentax and there only was one manufacturer who offered clip-in filters for Pentax K-mount, STC Optics in the US. Their (no doubt marketing-based and somewhat over optimistic) claim was:

STC

 Clip filters are customer designed for each camera model.  We support Canon, Nikon, Sony, Fujifilm, Pentax, Olympus, Blackmagic, Z-Cam and Panasonic models.

Our engineers tirelessly work to eliminate the color shift that can occur with lesser brands.  We

 invest heavily to create coatings that work with wide-angle lenses using interference coatings giving you greater creative options.

Although the shipping cost was horrendous and I was required to pay import VAT to FEDEX after the package arrived (expected but still not very nice as a surprise), the diminutive little plastic box arrived at my doorstep after a few weeks and I started experimenting with it.

Reality sets in

I had read in various locations that those clip-in filters, although seemingly very handy, had a number of more serious downsides. A few of those downsides I had already encountered and some others I started to find out about:

  • Clip-in filters are small and somewhat flimsy, the metal is easily bent and the filter itself is extremely thin
  • Inserting and extracting the filter from the lens mount is not at all easy. On mirrorless cameras, there is a danger of scratching the sensor, on DSLRs the mirror can easily be touched
  • If the filter is installed only slightly at an offset, it may prevent mounting the lens or worse it may lock the lens in place necessitating a costly repair
  • As the filter sits in the mount but in front of the mirror on DSLRs, lenses with a protruding rear element cannot be used
  • The filter is extremely sensitive to light entering at oblique angles, introducing unwanted reflections and/or loss of contrast and sharpness in (ultra) wide angle lenses under certain situations

Next step

As I had been using the STC filter mainly with my DA35mm/f2.4 and FA43mm/f1.9 Limited series lenses until recently, I had not really had a chance to evaluate its downsides. Most of my non-IR shooting was indoor family gatherings and not so much the architecture and nature shots I take when out and about. But I’m always interested in improving image quality and expanding my knowledge so over the period of a few weeks I had started to think about acquiring a lens-mounted hot-mirror filter and I reviewed various options by Kolari Vision and Life Pixel in the US, Dutch Digital Works in the Netherlands and of course IRreCams in Germany (by the time I’m writing this blog, I could not find the hot-mirror filter as an option in the DDW webshop anymore sadly).

Disclosure

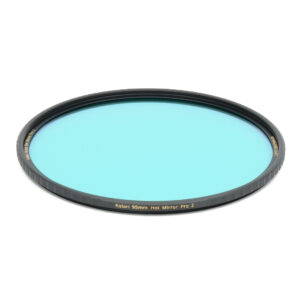
I ended up asking mr. Lamprecht if he would be interested in a test of his newly released “Normal Plus” filter which is promoted as having

  • Improved color rendering, especially neutral colors when using the camera’s internal automatic white balance
  • Hydrophobic surface coating for easier cleaning
  • Slim filter ring reduces the risk of vignetting (a front thread is available on both versions)

In the interest of neutrality, the agreement is that I will return the filter to him at the end of my testing so both Sven Lamprecht and myself are very conscious of wanting to avoid any kind of bias into this blog-post. I also offered to let him have a say in whether and how I will post my results and asked him if he’d like to review the raw files prior to publication and his answer was as follows:

To be clear, this is your work and blog post, you can publish and write anything that you want. I don’t want to influence your outcome on this in any way!… I might be interested in a summary of your text, or something like that, for publishing it in our blog or newsletter. But we can discuss this as soon as you have published your article.

So, that should tell you all how I decided to go forward and how objective my testing will be, given the limitations of my technical abilities and the time available to me. My basic assumption is that I’m free to come to any conclusion I see fit without any financial or other pressure or any intervention from the commercial party, IRreCams.

Mister Lamprecht also came up with some really good advice as to my suggested process communicated early on in an email and (summarized) he said the following:

  1. shoot all tests in AWB mode
  2. compare the outcome between the camera/filter combinations
  3. correct the WB in in darktable for all images in a next step
  4. see how the colors perform in this optimal condition.
  5. test the filters in their known weak spots: backlight situations and inside a forest.
  6. start with comparing color rendition
  7. eventually also compare sharpness

My process

Hardware:

  • my regular 24 megapixel Pentax KP acting as the control
  • the full-spectrum K-3 as the testbed for filter evaluation.
  • the same lens on both bodies, the Pentax DA16-85mm/f3.5-5.6
  • the STC clip-in filter
  • IRreCams “Normal Plus” filter in a 72mm thread size fitting directly on the front thread of the lens
  • NOT USED: I decided to forego the use of the dedicated lens-hood in order to exaggerate and highlight any flare and/or contrast issues in back-light situations

Software:

  • To convert the raw files, I used Darktable version 4.6.1
  • To line up the handheld images and create side-by-side comparison images, I used Gimp 2.10.38
  • To create (labeled) thumbnails in a size suitable for web publication I used ImageMagick  version 7.1.1.32-1
  • The platform was Manjaro, updated a few days ago to the newest stable 24.0 Wynsdey release

Shooting procedure (in my local park/forest on an open spot at ca. 10:30 AM on a sunny day):

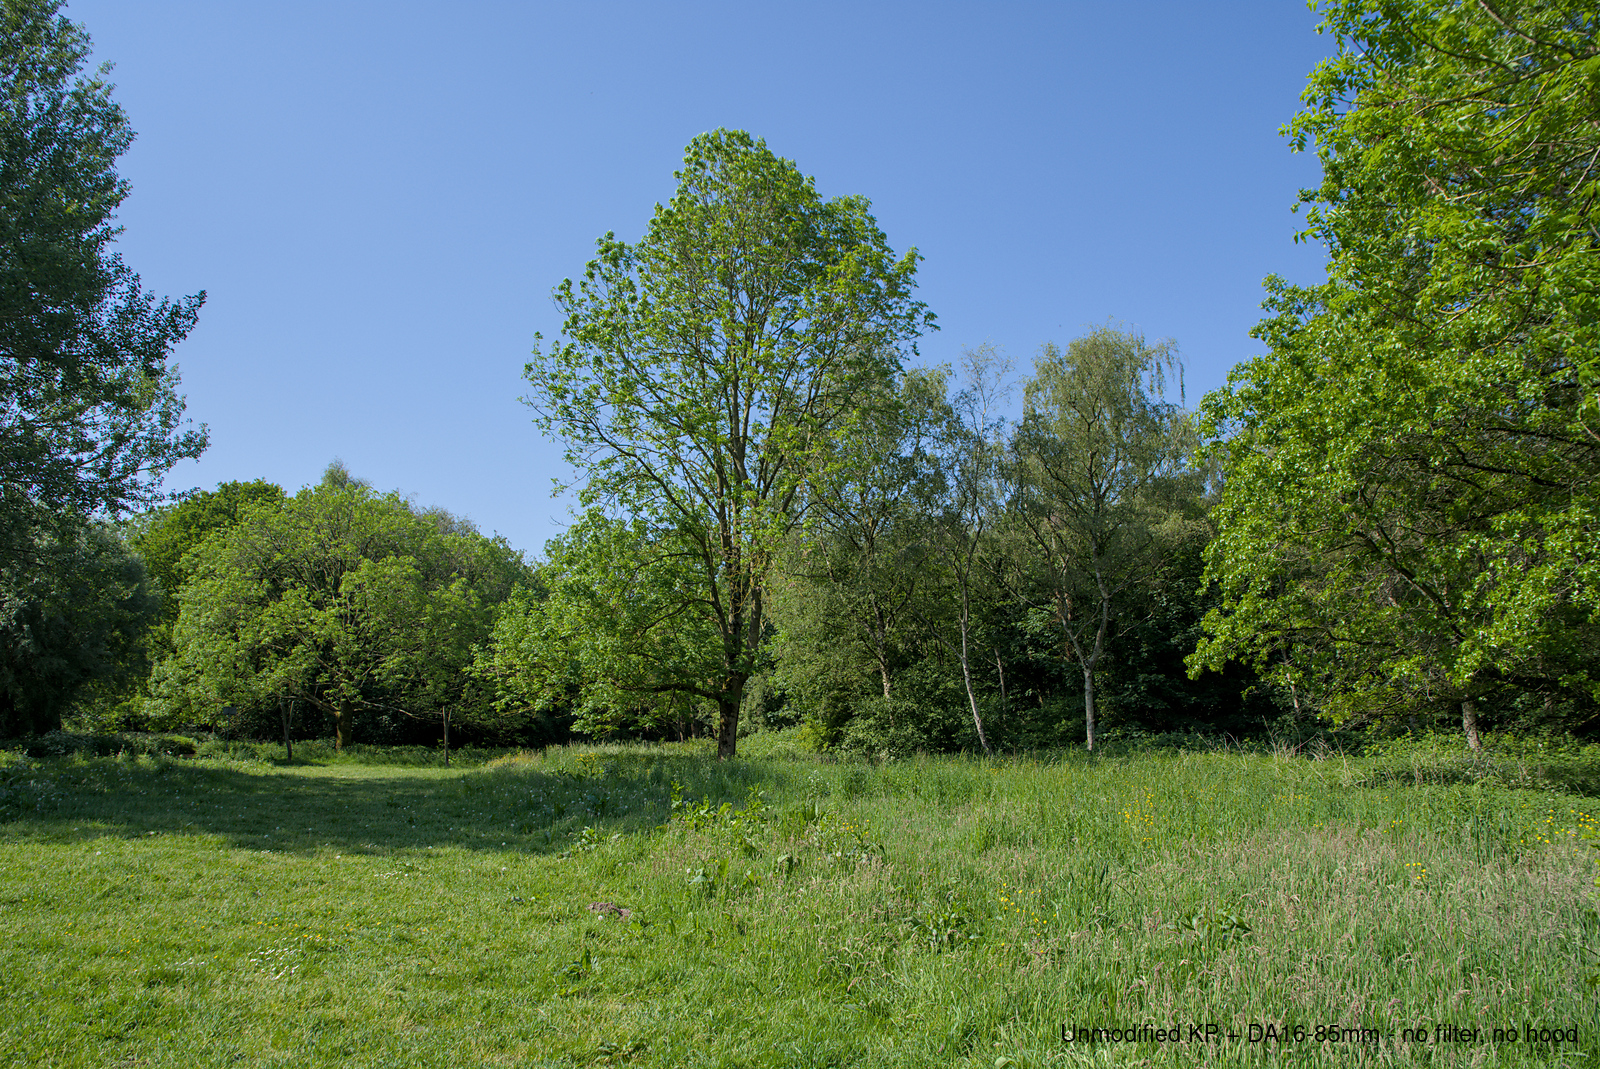
  • With my back placed firmly against a tree, I shot a series with the KP consisting of:
    • A wide shot (16mm) with the sun just outside the top of the frame roughly straight ahead (lots of sky in the image)
    • A wide shot (16mm) at 90 degrees to the sun (some blue sky visible)
    • A wide shot (16mm) with the sun at my back (mostly trees and green foliage)
    • The same angles again but now with the lens set at the 35mm marking
  • Without moving from my position and only unmounting the lens off the KP and onto the K-3 with the clip-in filter installed
    • The same 6 shots as above so three at 16mm and three at 35mm and at angles of 0, 90 and 180 degrees to the sun
  • Again, without moving, I unmounted the lens, removed the clip-in filter (very fiddly indeed) and remounted the lens this time with the normal plus filter installed
    • Boring but the same 6 shots again with this combination

I did not bring a tripod as I was already weighed down with 2 DSLR bodies, a camerabag, extra batteries, a lens and a dog…

I did try to keep framing consistent and where possible, I overlaid the images afterwards in Gimp layers to line them up at least a little.


Raw conversion:

  • as suggested my mr. Lamprecht I performed a basic raw conversion with WB adopted from the camera initially and a minimum of modules activated to minimize any impact
  • in a second step I left everything the same except for the WB module where I opted for darktable to apply a WB computed from the image area (auto-WB)

Preliminary outcome

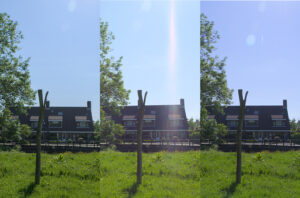
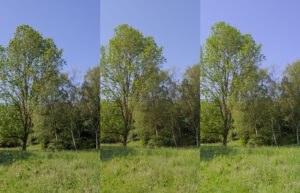
Without wanting to make a final judgement as I need some time to evaluate the 18 resulting images in detail but I can share them for you to have a look for yourself. You can find them in my online album surprisingly titled “Hot mirror test“. What I can do for now is to also share a few of the images I combined in Gimp either side by side or, when there’s a lot of sky involved, stacked vertically. In all of them the sequence is:

  1. Control shot KP, no filters, no hood
  2. K-3 shot with clip-in filter, no hood
  3. K-3 shot with 72mm normal plus filter, no hood

Backlight, WB uncorrected, 16mm:

Backlight, WB uncorrected 35mm:

Shot at 90 degrees to the sun, WB uncorrected:

Shot at 90 degrees to the sun, WB corrected in darktable, different crop to include both foliage as well as sky:

To be continued…