image_pdfimage_print

The hot mirror filter test results wrap-up (part 3)

Intro

So where in part 1 of this evaluation I introduced the hotmirror filter, its use and the two types of filter available, I continued in part 2 with preliminary results as side-by-side samples of both types of filter next to a control image shot by a non-infrared camera.

Again I’d remind you of something I stated before: if you want to hear me say “X is better than Y” this my not be a recommended blog for you to read.

Methodology – this time

So where in part 1 I introduced some technical concepts as well as the testing methodology I had drafted, Part 2 was a deep dive into the results of a shoot pitting a regular camera body and lens against a full-spectrum converted camera with the same lens but two different filters: the in-mount clip-in filter by STC Optics and the 2nd-generation screw-in filter provided by IRreCams.de . Comparison was done at 3 focal lengths (16mm, 35mm and 85mm) and on a bright sunny day with the sun at various angles (0, 45, 90 and 180 degrees) to the sun. For the full outcome I’d refer you to the conclusions paragraph in Part 2

This time I took the full-spectrum camera with me to a Mediterranean country to see if the outcome would be different under different lighting conditions and with higher levels of UV and temperature fluctuations.

The relevant web-albums for you to check

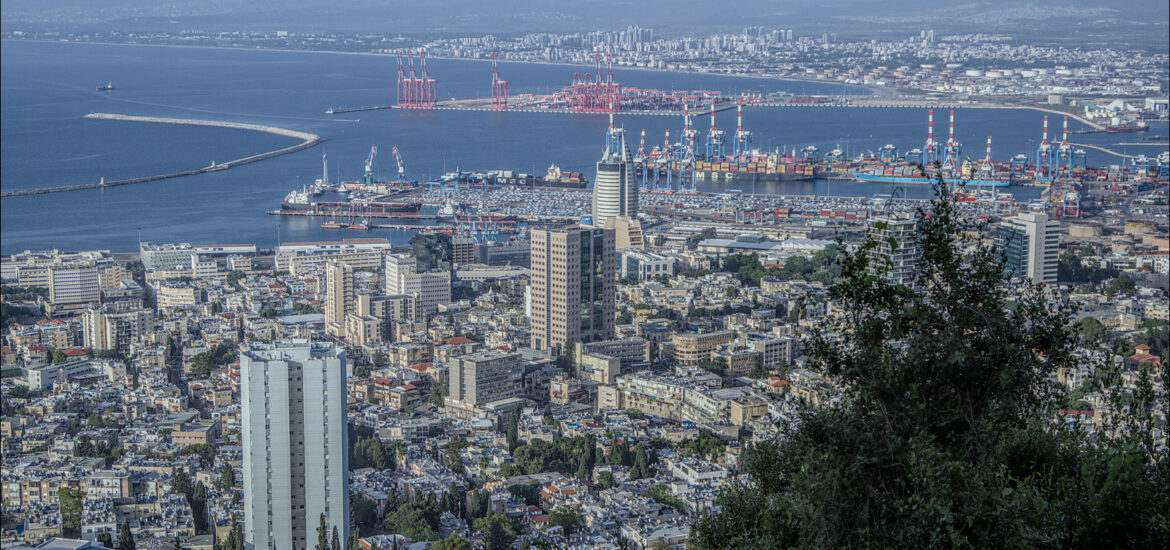
You can see the results I got on two different days (and different elevations on a mountain) in album 1 and album 2. I leave it up to you to spot the differences. A few of the comparisons are shown below.


Container ship with MSC branding docked at a busy port with cranes and shipping containers.

Side-by-side comparison of Normal Plus and Clip-in image quality with labeled sections. Side-by-side comparison of Normal Plus and Clip-in image modes with a port view.

Why only at 16 and 35mm focal lengths? Because this particular lens is not the strongest performer at 85mm, its extreme tele-setting, which would probably even out any comparison or invalidate the results.

A few of the results on the other shooting day starting with a single evening shot – as I dd not bring a tripod, the blue-hour shot below was as close as I got to testing at night:
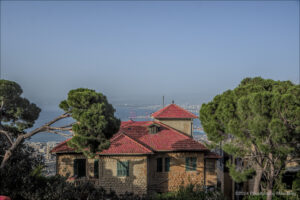

A historic house with a red roof and stone walls, surrounded by trees in Haifa. Aerial view of Haifa showing buildings, streets, and a prominent golden dome structure.

A view of Haifa showcasing buildings and the coastline in the background under a cloudy sky.

A cityscape view showing buildings and streets during dusk with lights starting to illuminate.


Final conclusions

In general, I’d like to divide my conclusions into two distinct categories, usability and “ease of use” against pure image quality. To start with the latter, image quality:

Image quality

Assessing image quality comes down to some general impressions as well as a more critical view of sharpness, color accuracy and contrast combined with any very apparent issues such as the lens flare observed with the clip-in filter in Part 1 of this blog.

Overall, the Normal Plus filter supplied to me for this test by Sven Lamprecht of IRreCams in Germany (same company that converted my camera to full spectrum) had a more consistent performance with superior sharpness and detail at focal lengths between 16 and 35mm and identical performance the the clip-in filter at longer focal lengths. But as I explained before, it may very well be due to another factor being the lens itself which slightly drops it performance below the threshold required to identify filter-introduced variables.

Literally the only “issue” if I should at all call it that is a bit of a color cast under some lighting conditions which was most noticeable in blue skies which came out slightly purplish. This was easily handled by setting a white balance based on the image itself rather than accepting the WB set by the camera at the time of shooting. As I always shoot raw (and convert with Darktable) I found this such a minor issue that I’d not hold it against the filter quality-wise.

Usability conclusions

I can say as I did after Part 2 of this evaluation that I find the Normal Plus filter as supplied by IRreCams superior to the STC clip-in filter from a purely photographic perspective. I might be elect to use the clip-in filter if my expectations are to shoot infrared images as well as simple family vacation snaps with a single (non-UWA) lens and light travel. When switching lenses, the clip-in filter can stay in the camera’s lens-mount as long as you do not angle the camera downward.

Another factor is sturdiness and ease of cleaning and again, I have to give it to the Normal Plus filter. Easy to clean with a lens cloth, sturdy screwthread and also super nice to handle. The clip-in feels as if it would snap in two if you hold it the wrong way and the filter material itself seems very thin and delicate. I’d use a blower and soft lens brush on it but certainly never a lens fluid and cloth.

One more observation which I left out last time is of course the viewfinder image. Although exposure and focus are consistent if using the optical viewfinder or OVF rather than live-view is that with the clip-in filter you are looking straight through the lens via the camera mirror which leaves the bluish hot-mirror filter out of the optical path and leaves you with a bog-standard viewfinder issue as with any unconverted DSLR. With the lens-mounted screw-in filter your OVF turns rather bluish and makes it easy to assess real colors in the shot. I strongly preferred using live-view in either scenario but for quick snapshots or under extremely bright daylight conditions, the OVF turned out a life-saver at times.

Last words on the subject (and one true IR image shot with the same camera and lens)

I have enjoyed doing this comparison tremendously and am rather surprised by its outcome to be quite honest. There is something quite technically different between placing a filter in the lensmount, behind the lens’ back element and screwing it on the front of the lens itself. I certainly recommend the Normal Plus filter when image quality is extremely important – if cost is an objection, get it for your best lens (or the largest diameter and use step-down rings). The clip-in though is an entirely valid and useful item to have and to use, turning your IR camera into a regular one with all but the most extreme wide angle lenses and under most circumstances except for those with a bright light source just outside the frame.

So, HAVE FUN!

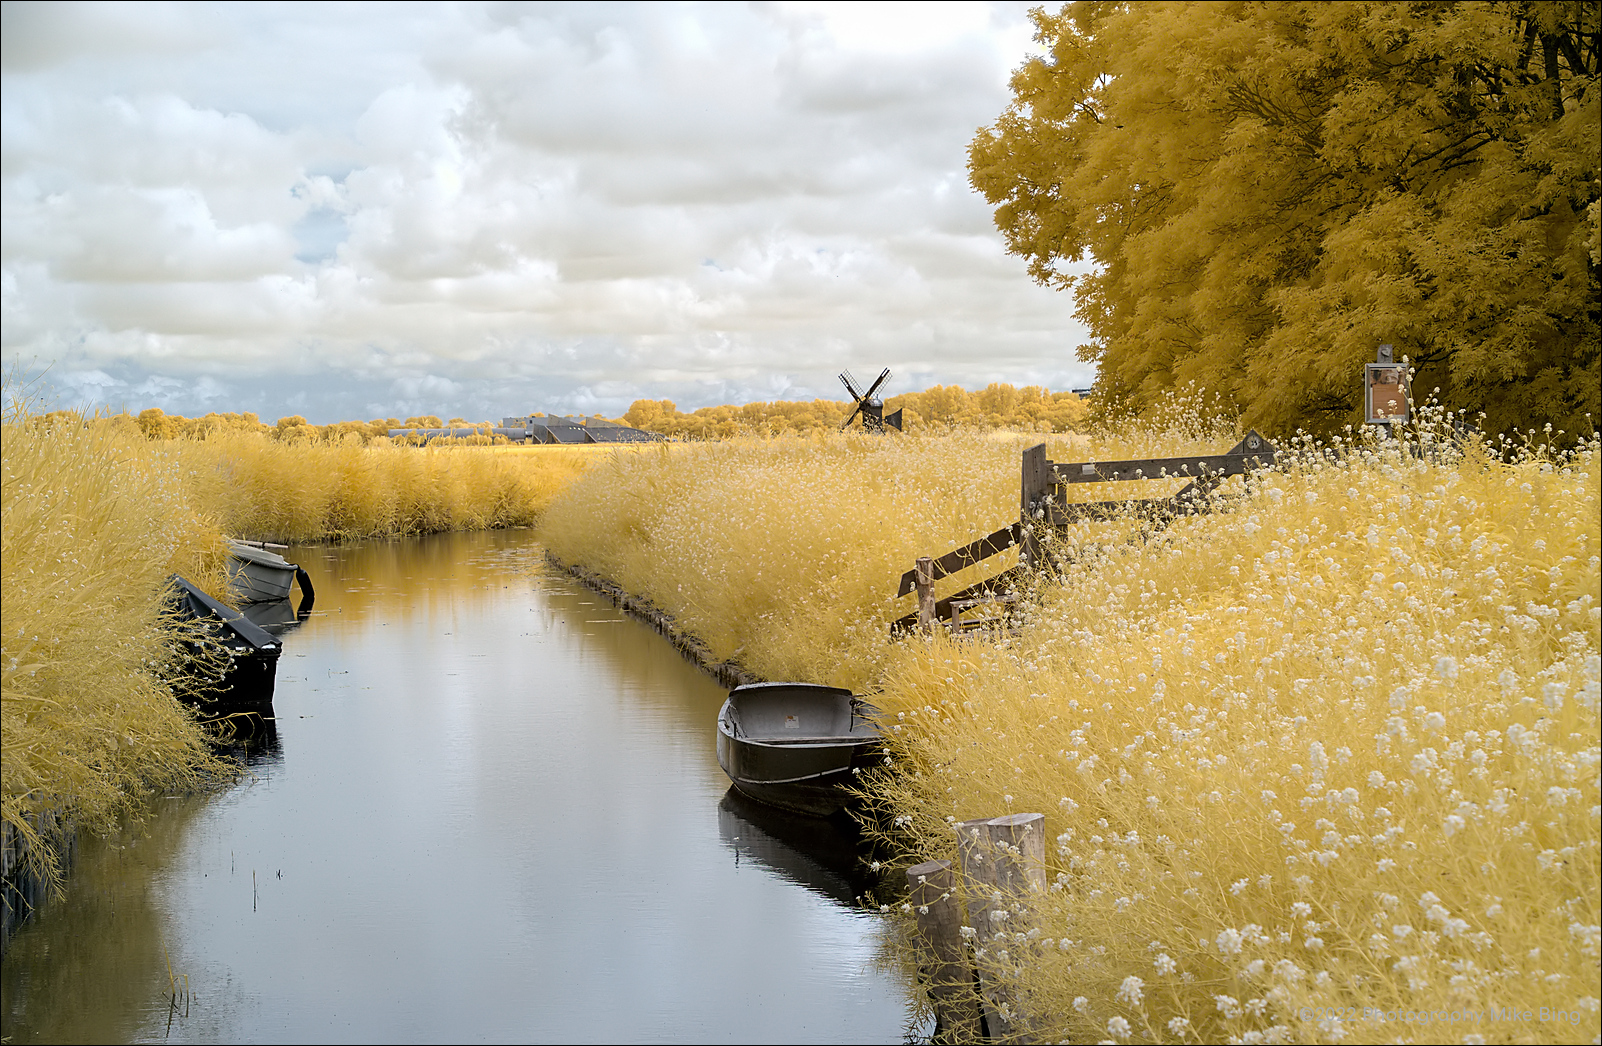
A parting IR shot taken during the same period and the same lens
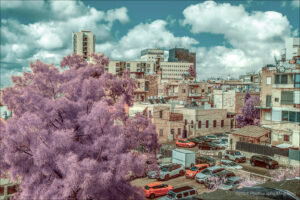
Urban landscape featuring a purple tree and various buildings in a city setting.

[EDIT]Additional remarks and Reddit response

After posting this blog I received an extremely interesting response from Reddit user Astrobarn who is very active in the infrared photography group on that platform.

I’m not sure I agree with the IRreCams filter being tied for second in a lot of those shots where it produces purple skies.

I wonder if the STC streak could be mitigated by blacking the edges of the glass in the clip filter, for some reason they leave them rather sharp and reflective with no black paint on the edges which would help immensely.

Perhaps you could do a more detailed sharpness test because I’m not seeing the dramatic drop in sharpness you suggested at 16mm. Is the total filter stack between the sensor and lens thicker than stock with the clip filter installed? That would definitely explain peripheral sharpness issues due to astigmatism and field curvature. If one plans to use clip filters you should have the full spectrum conversion done with the thickness of the clip filters factored in.

I’ll take an even closer look at the results but what really peaked my interest is his/her suggestion that blackening the edges of the STC might be a fix for the ugly light streak and flare I experienced when shooting wide and with the sun just outside of the top of the frame. This sounds so common sense I’m rather ashamed I did not even consider it before. Bare metal edges can- and will reflect light something fierce of course.

The other suggestion of doing a conversion with the thickness of the clip filters factored in does make sense but, and this is a big thing to me, sounds fairly limiting as that automatically means the use of lens filters is no longer optimal. If you’re committed to use clip-in filters only, it certainly is the way to go but seeing I want to keep my options open another argument for using lens filters presents itself. Those clip-in filters are hard to come by in Europe (mine came with a hefty Customs import charge on top of the already high shipping charges) so I’m not sure I’d recommend going that route unless your are based in the US. r/Astrobarn also wrote:

I think you will need blacking ink or paint, sharpie is invisible in IR and UV and only blocks about 50% of visible light.

You are correct the camera is mostly only usable with clip filters, a thinner than expected sensor stack tends to have less of a negative effect other than potentially losing infinity focus. My camera modification is designed around clip filters, with a clear filter for full spectrum, a UVIR filter for visible and then custom filters for different spectra. I use full spectrum by far the least often.

These comments are extremely valid and may certainly be useful to some readers (with similar use cases)  which is why I’m adding them to my blog with the previous approval of r/astrobarn of course.
The hot mirror filter test results part 2

Intro

So in part 1 of this evaluation I introduced the hotmirror filter, its use and the two types of filter available: clip-in and screw-mount. I shared a few of my expectations as well as a few preliminary results as side-by-side samples of both types of filter next to a control image shot by a non-infrared camera. I assume anyone who read that may have made some very initial assumptions in the meantime, as have I.

There was a strategy to lettings things sit in my mind for a while rather than using what seems to be today’s fashion: a single post or video with a solid and straight conclusion at the end, I wanted to not only think about what I saw but also take a single step on the way to a careful conclusion.

TLDR: if you want to hear me say “X is better than Y” this my not be a recommended blog for you to read.

Recap

I used a regular, non-converted Pentax KP 24 megapixel APS-C DSLR body as the control, a Pentax K-3 24 megapixel APS-C DSLR body as the testbed and a single DA16-85mm lens to shoot all of the images in raw format. I tested an STC clip-in hotmirror filter against a lens-mounted 72mm threaded “normal plus” filter provided for this test by IRreCams in Germany, courtesy of Sven Lamprecht who was consulted about the test and kindly lends his cooperation.

The raw files coming out of this first test-run were converted with the open-source and cross-platform Darktable software  which is software I have used for going on 20 years and fully supported by many tutorials and websites (including by IRreCams).

The end result of this first shoot is 24 images in jpeg format with each 4 exposure series covering a 180 degree horizontal sweep from directly into the sun (but sun just outside the image frame) to a shot with the sun at by back (so roughly 0 degrees, 45 degrees, 90 degrees and 180 degrees to the sun). Each run had the same 4 exposures at 16mm which is the widest angle this lens will allow as well as at 35mm which on an APS-C camera is roughly a “normal” field of view that our eyes also perceive. Finally, each body/filter combo was put through the same exposures so the KP without any filter, the K-3 with the clip-in and the K-3 with the screw-in lens filter.

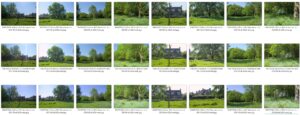
Exposure was left at aperture priority mode and F6.3 which I have always held to be the optimum balance for image quality on this particular lens. White balance was left on automatic mode and autofocus was engaged. The shots were lined up hand-held with trees and other markings in a small park as guidance. In the overview above you can see the 24 image files in the file manager on my PC, all converted to jpeg with the most basic of options in Darktable as I eluded to in my previous blogpost.

What’s next, what’s now?

Now (below) is my evaluation of this first batch of results, both in their unedited state as well as edited to try and equalize WB as much as possible and make some very preliminary conclusions on detail sharpness and clarity across the image. I’ll try and tweak some of the images beyond the first rough output and compare some individual color renderings.

Next (in a future part of this blog), the K-3 will travel with me to the harsh light of the Middle-East for a few weeks (Israel to be specific) so I can test both filters against each other in various different situations and potentially try some night shooting as well. Seeing my results from the first run, I will be using a hood this time around which will benefit both filters I expect and hope. Taking one cue from the first shoot, I will leave the KP at home because I feel I have now established enough of a baseline to not have to juggle around two bodies to make the point of this comparison.

So, get to the point!

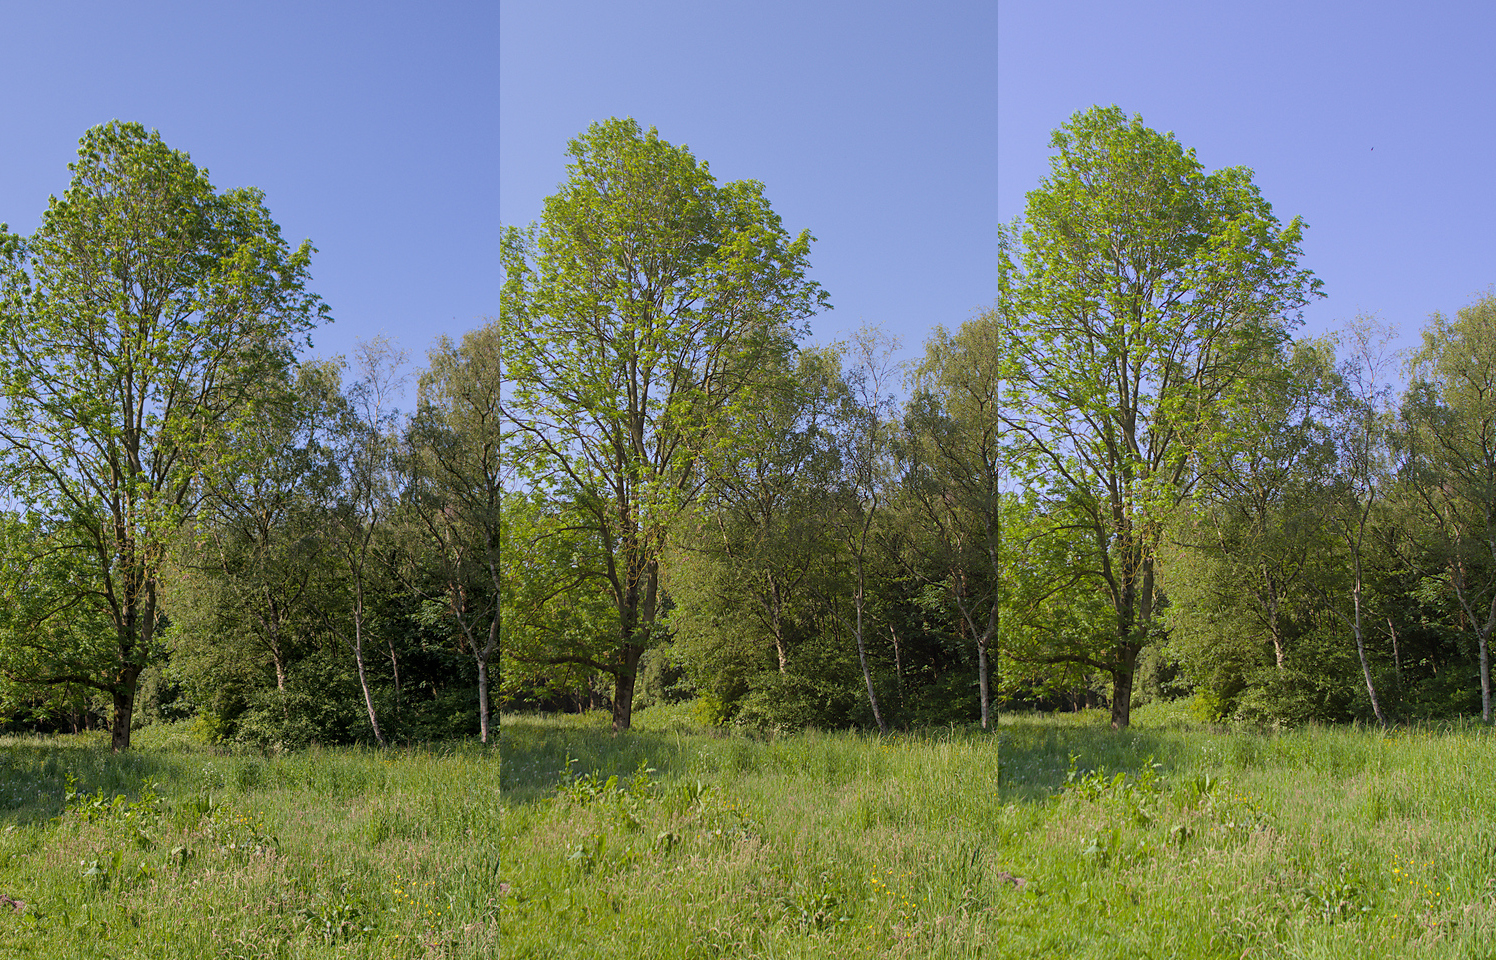
The first images to end up on my torture bench are the ones shot to emphasize their, as Sven so lovingly put it, “known weak spots: backlight situations and inside a forest“. These are the shot which are straight into the direction of the sun with the sun just outside the image frame. And yes, straight on we get the weak spots highlighted with some flare and light streaks.

Back-lit (worst-case) outcome

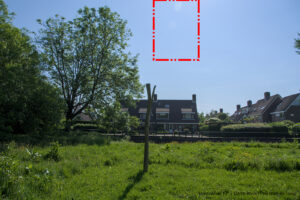
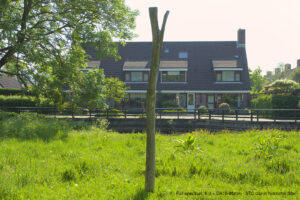
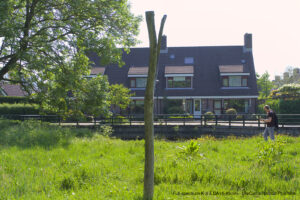
The control image which I remind you was shot with the KP and 16-85 but without hood show a neat bit of flare with one very bright spot at the very edge of the frame and a few secondary, slightly weaker, reflections a bit lower. Not a bad performance for an average lens without hood.

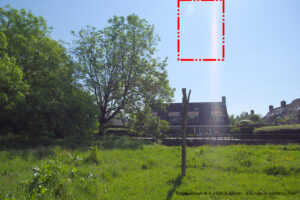
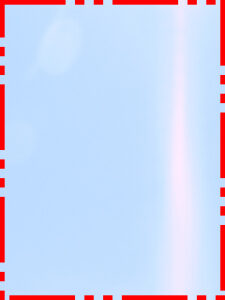
If we look at roughly the same spot (remember that all of these were hand-held) on the image shot with the STC clip-in filter, there is a drastic difference. The flare is roughly similar but it is now joined by a light streak which covers almost the entire height of the image and which has some kind of color diffraction effect (band of rainbow colors) further down which looks like what comes out of a prism. Something, potentially on the frame of the clip-in filter itself, has a disastrous impact on the image making it virtually unusable. The sky is totally bleached out across virtually the whole frame and the green of the grass and the trees is quite acceptable in the places it is not obliterated by the rainbow halo streak. The whole image seems a bit washed-out.

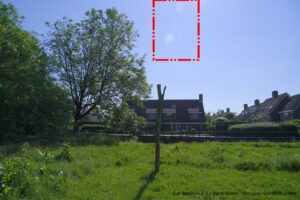
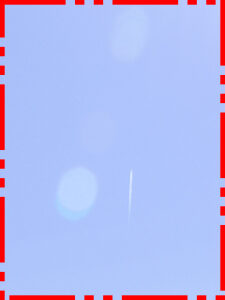
And, lastly, we look at this spot shot with the “Normal Plus” lens filter. Please do not mind the small vertical white streak to the right of the flare. I live not far from Amsterdam Schiphol Airport and these darned planes do not take my testing into account. It’s merely a plane but I thought it best to leave it in there and start cloning pixels in order to leave the image as pristine as possible. The contrail does not interfere with my conclusions about the flare. As to that flare, it is ever so slightly more pronounced than the filterless control image but, taking into account the absence of a lens-hood, it is entirely acceptable (and easily corrected in post as well). Sky color is excellent and I cannot really see any difference with the control. TBH, I was hard-pushed to find any color cast at all but overall, color temperature seems to be slightly cooler which is easily corrected in post.

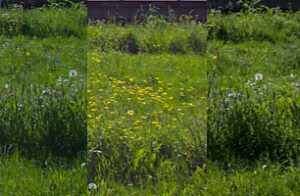
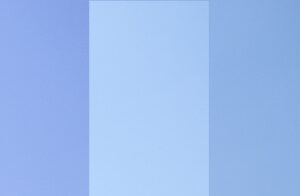
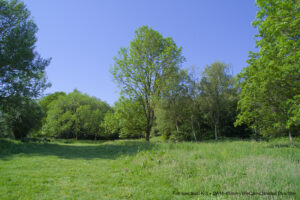
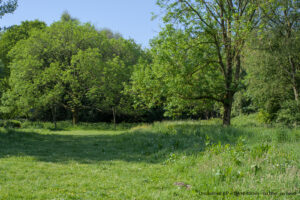
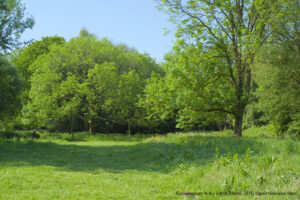
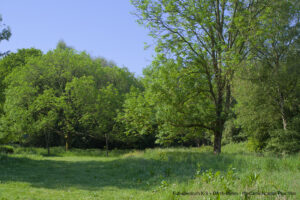
Here are a few small patches of sky and grass side-by-side. Control is on the right, STC in the middles and IRreCams on the left

Outcome of the 16mm “worst-case scenario” is therefore:

  1. The image from the control camera is the clear winner – not unexpected as I’ve always held to not using filters unless they have a clear photographic purpose. There may also be slight differences in the way the KP sensor handles colors versus the K-3 which is of a slightly older generation. Detail sharpness and contrast is at the very high level this sensor can deliver at its base ISO and these settings (F6.3 and 1/400sec)
  2. In a well-deserved second place is the Normal Plus lens filter from IRreCams which really leaves nothing on the table. The very slightly more pronounced flare is merely the unavoidable result dictated by the laws of physics and the outcome of adding two extra refractive glass-air boundaries for light to reflect off. All in all, I do not own many filters with such an effective coating as this one and I’m sure that using the lens-hood as anyone sane would do, would really make the outcome indistinguishable from the control other than the slightly cooler color temperature. Detail sharpness and (micro)contrast are impeccable.
  3. The STC clip-in filter is the big loser here. Under these conditions, with a wide-angle lens under backlit conditions, the outcome is simply unusable. Sharpness, contrast and color all suffer horrendously.

The same back-lit position but now zoomed in to 35mm

A lot of differences have now disappeared and both the clip-in as well as the Normal Plus filter deliver decent results even though the “naked” control beats them both hands down in terms of overall contrast and color fidelity. When it comes down to comparing sharpness and detail, the Normal Plus filter pulls ahead slightly over the clip-in filter but they both deliver acceptable results.

Outcome of the 35mm scenario

  1. No surprises here, the KP without filter (or rather with its factory-installed filter bonded onto the sensor) wins again
  2. The IRreCams Normal Plus filter comes in a respectable second place. Color, contrast, sharpness are all acceptable for everyday shooting, vacation and family snapshots with the sole exception of the most demanding nature shots. The greens of both grass and trees is slightly more luminous than the control but this again can be dealt with easily in post – even in batch mode.
  3. The STC clip-in filter comes in surprisingly decent. Still in last place but only by a small margin. Equally usable for everyday shooting, vacation and family snapshots

Next series at 90 degrees angle to the sun – polarization test

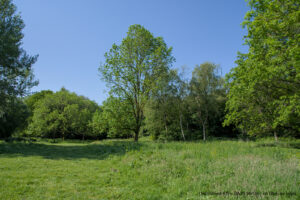
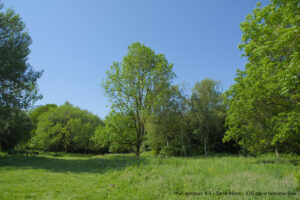
This is where the STC clip-in starts to match the Normal Plus screw-in IRreCams filter and in one aspect even overtakes it slightly. As you may be able to see on these thumbnails (and remember that the larger images are available in my gallery) the screw filter inroduces a tiny bit of a purple cast in the sky. It is easily dealt with by addressing the WB adjustment in Darktable rather than accepting the camera settings. Sharpness, contrast and detail are perfectly fine across all three test images and I’d be harp pushed to determine which is produced by which filter combination if I didn’t know.

Same applies to the 90 degrees at 35mm focal length:

Outcome of the 16 as well as 35mm scenario at 90 degrees to the sun

  1. I’ll still give the control first place but I’d stress again that this may just be the improved output of the KP’s sensor over the K-3. Even though the megapixel count is near-identical, the KP was released in 2017 and the K-3 is a full 4 years older
  2. This is an tie for second place for the clip-in filter and the screw-in version

Next series at 180 degrees angle to the sun

I will actually leave the conclusions to you as you can see the images in the gallery itself. The trend set with the 90 degrees batch continues and both filters perform equally well. Yes there is a bit of a cooler cast on the green foliage for the Normal Plus filter but that is a simple WB issue which can easily corrected for in post. Both filtered images shot with a full-spectrum K-3 compare favorably to the similar image shot with an unmodified KP DSLR and the same lens.

Overall conclusion after round 1

I would find the Normal Plus filter as supplied by IRreCams superior to the STC clip-in filter from a photographic perspective. In terms of color, detail sharpness, contrast and resistance to flare it clearly pulls ahead in most (but certainly not all) scenarios. The STC may still be interesting from a financial perspective as one size will truly fit all of your lenses while obviously a screw filter needs to be purchased for every thread size of every lens. Alternatively you may use step-up rings but that would introduce its own set of issues such as not being able to use the lens hood.

I would say that in real life, I might be tempted to only use the clip-in if my expectations are to shoot infrared images as well as simple family vacation snaps with a few lenses in my bag and light travel. If however, my plans are to see the sights and take some decent land- and cityscapes as well as architecture shots using wider angles, I would heavily lean towards the Normal Plus filter with its superior contrast rendering and resistance to flare.

Next time

What I have not covered and will do in a few weeks time is indoor shooting, evening/night shots and shooting under very harsh Mediterranean summer light conditions. Watch this space!  Until then, have a great summer!

First steps in IR photography – a gimmick or an artform? Part 2

Recap

So, in Part 1 of this 3-part series documenting my careful first steps in the area of infrared photography I discussed a few points that piqued my interest in IR photography. Some background details were described and I eventually sent of my K20D to be converted. Onto Part 2 we go!

He’s dead Jim!

After about a week or so of sending the K20D to Germany, I received the following message from the guy doing the conversion:

Today I have to come back to you with sad news. I did the conversion of your camera but there is a malfunction now. The camera does not tun on but reports an empty battery (blinking battery on the upper LCD). I have triple checked every cable connection and solder point, but I was not able to find the source of the malfunction. It seems to be a mainboard error, something that can happen when touching such “old” hardware.
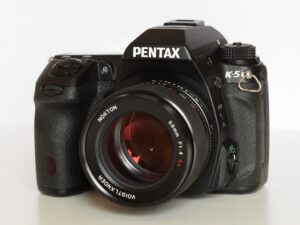
Well so much for my breathless wait. However, my choice of camera may have been somewhat tainted as I found out while my camera was on its way. It finally came back to me how flawed the live view mode of the Pentax K20D really was. It did not rely on contrast detection AF but it would rather flip down the mirror, focus using the regular phase detect sensor, flip up the mirror before the shot. Kind of like touching your left shoulder with you right hand behind your back. Also, the K20D was not really great in the image noise department (anything over ISO400) and I had by now read up on ISO noise issues with IR conversions.

A change of plans, and camera model

And, yes, my contact came back to me almost immediately and offered to source me a replacement K-5 for a small difference of €80. A K-5 which of course is immeasurably more suitable for IR shooting due to its true live view contrast detect focus and superior noise performance. These improvements signaled the move by Pentax from Samsung sensors used in older models to Sony sensors. He said:

I think the extra money is worth it, because Color-IR (630 nm) is always very demanding on the noise performance of the sensor. By pushing the white balance to extreme values the noise will be amplified and becomes easily visible in the image. Just let me know what you prefer!

I agreed and a short week later, a Pentax K-5 together with charger and battery was delivered to my doorstep. First of all, it immediately felt so familiar to me as I owned the K-5 as well as its later incarnation, the K-5 IIs, for a couple of years. Only setback was a weak mainboard battery which caused the camera clock to reset every time I had the battery out for recharging. I quickly found out that this is not uncommon and can be “cured” by always having a second battery ready to pop in before the clock circuit capacitor got a chance to discharge too far. Some €36 later, that was all taken care of and my experimenting was about to begin in earnest.

Let’s talk software first

So, dealing with IR images invariably means a bit more processing is required because an IR image coming straight from the camera is pretty lifeless and looks weird, with some very flat colors and little detail.

Created with GIMP

Reading up in various places I started understanding the concept of swapping color channels, applying colour lookup tables (or LUTs as they are commonly called) and the distinct output of various IR filter types. From 550Nm (nanometer) wavelength which ends up a riot of bright colors and al the way to IR cutoff filters of 720Nm and more which result in almost monochrome images. I had selected the middle-of-the-road 630Nm to stay on the “safe side”. The color chart to the right of this paragraph and a good deal of guidance came from the website of the company which did the conversion of my camera, IRreCams in Germany.

I also read up on the importance of setting the correct white balance in the raw converter rather than in the camera as the latter will not be able to capture the extreme ranges required. Lastly, the already discussed noise beast reared its ugly head and I quickly familiarized me in the ways to control the beast (wherever possible). Luckily I have some experience in shooting high-ISO images and have a decent grasp of noise reduction methods, upsides and downsides.

To open-source or not to open source. Thàt is no question at all (to me at least)!

Shakespeare really had no way of knowing which horse I would bet on in his times, but I can assure you I had full confidence the image editing suite I have available to me is móre than capable of doing IR images justice. In some ways, this software will even outperform commercial software but in all ways it offers choice, tons of choice! Whether you decide to use one particular raw converter or another, one bitmap editor or another, one noise reduction software or another, open-source software users are spoiled for choice.

I decided on Darktable (version 3.8.1 at the time I started this blog, now up to version 4.0) for my raw conversions, channel swaps, white balance edits, color mapping (where necessary or helpful), contrast and clarity and loads more besides that. Darktable is capable of delivering a publication-ready jpeg image right off the bat.

For pixel edits, like taking out small dust spots, using GMIC for some artistic renderings, working with image layers, I have really nothing which can touch Gimp, now up to version 2.10.32 on my operating system. A true powerhouse, especially if decked out with all of the available plugins and scripts. Important ones would be liquid rescale, GMIC, resynthesizer to name but a few.
Lastly, Digikam and its builtin image editor Showfoto not only for tagging and rating images but certainly also for some edits for which I’ve yet to find a better replacement elsewhere. Especially the auto color adjustment and sharpening routines are great but it also allows HDR alignment and merging via align_image_stack and enfuse.

Next time, part 3, some examples and lessons learnt!

But for now, a sneak preview to the other part of my website which contains an album with IR images shot over the past few weeks. Have a look and let me know what you think!

First steps in IR photography – a gimmick or an artform? Part 1

Introduction – why?


After a long hiatus I’m finally posting a new article on my blog, this time about a photographic technique I had heard about but never used before. Partly because of the cost and partly because of my lack of knowledge of the various options out there. But let’s start at the beginning: why? Well, I was feeling a bit “burnt out” for lack of a better expression. My daily walks with my OES(Old English Sheepdog) Noam led me on the same old paths around my town again and again. I had explored those paths photographically with everything from an 8mm ultrawide angle to a 420mm tele lens, from a 35mm Lensbaby tilt/shift to a 135mm 60’ies Sovjet lens with reversed front element. I had used every processing technique in the book as well as a few not in any book (mostly unsuccessful I might add) and felt there was not much more to explore.


IR photography – what?

So what is infrared photography? Most people may know it from the far-infrared used in forensic art research where it is used to reveal old layers of paint in priceless works of art. Or you may have seen home improvement usage where IR is used to detect heat leakage from homes and identify where extra insulation is required. Yet others will know it from its militarily use where it allows early identification and targeting of enemy vehicles or personnel.

But the kind of infrared photography I had seen over the years was near-infrared, the terminology did not make much sense to me. This is quite different and what I saw basically had two faces. One was the gritty black & white filmic images with threatening clouds and extreme contrast. The other an almost magical fairy-tale world of inverted colors, pink, yellow and more. Both of these forms had an abundance of image detail, sharpness some might say.

The infrared light spectrum I got interested in is “near-infrared”, or simply, “IR”. Near-infrared refers to the spectrum of light just beyond the range humans can detect with their eyesight. This light range is between 700 – 1200 nm (nanometers). Today’s common digital camera sensors are not able to detect infrared images due to the way they are designed. More about that later.

Usage of IR photography dates back to the early part of the 20th century. In WWI, IR photography turned out to be great as images using the IR spectrum were not affected as much by atmospheric haze as normal photos. IR images also show huge differences between vegetation and buildings or vehicles whereas bodies of water (streams, lakes etc.) turn a very dark hue, almost pitch-black.
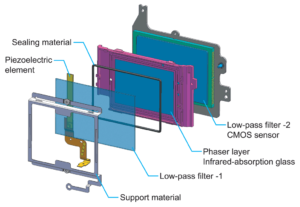
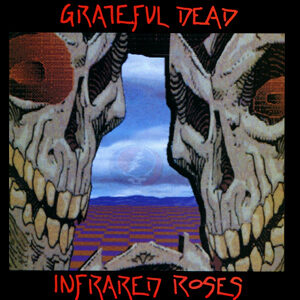
Later in the twentieth century, IR photography saw a different and more artful usage, as some of the musicians of the day, such as the Grateful Dead and Jimmy Hendrix, used it to produce psychedelic album covers.

Illustration Album Cover: Fair use, https://en.wikipedia.org/w/index.php?curid=4930279

Today, photography using reflected IR light produces somewhat surreal effects. Vegetation appears light (or even white). Skin takes on a very milky, smooth texture, although veins close to the skin surface can be accentuated and take on a rather ghoulish appearance. Eyes can appear a bit ghostly with the irises registering very dark tones and the whites of the eye taking on a grayish hue. Blue skies with fluffy clouds become much more dramatic. Contrast and image crispness (or even grittiness in some cases) are increased and the look and feel is something quite out of the ordinary.

A digital reflex camera and infrared photography – how?

Modern digital cameras have three things which hamper the capture of images with infrared light. The first is an IR cut-off filter over the sensor of the camera which filters out 95% of light not within the visible light spectrum – without this, normal photography capturing an image as the human eye sees the scene would be impossible. The second is that the light meter and exposure automation is calibrated, again, to those wavelengths which are visible to the naked eye – quite obvious as we don’t really “see” infrared as being bright. The last one is that infrared light has a very different diffraction and refractive index in the glass elements of the lens and impacts the autofocus sensor differently. Lenses become fuzzy and impossible to focus on a subject whether near or far and the AF of the camera locks on to the wrong focus point.

Disadvantages two and three, exposure variation and different focus characteristics can be dealt with in a variety of ways. Think of manual focus, focus via live view where the focus sensor is bypassed and only the sensor contrast is used to drive AF. Think also of exposure bracketing or manual exposure using the histogram on the LCD as a guide.

The first disadvantage can be dealt with in two ways. One is to use an infrared filter over the lens of a normal camera. Such a filter seems almost black as it blocks out all visible light and allows only IR through. But because the sensor is shielded against 95% of that very same IR light, a lot of it is needed to actually form an image. The result is extremely long exposures, sometimes running into multiple minutes, which require the use of a tripod and make photography of anything moving almost impossible.

The second way to deal with the disadvantage of the IR filter on the sensor is…to get rid of it entirely. That means disassembling the camera and removing the tiny sliver of glass over the sensor, replacing it either with entirely clear and transparent glass (a “wide spectrum” modification) which involves using lens filters to define what light will reach the sensor or putting in a piece of glass which filters out visible light and lets in infrared light in a defined wavelengths so any lens becomes an infrared lens without use of a lens filter. This is called a dedicated IR modification and choices are generally between filters in the 550 and 720 nanometer – each cutoff wavelength can result in a different effect on the image, 550nm resulting in extremely colorful results whereas 720 is used primarily for B&W images.

So the step between “just interested” and “let’s go” – when?

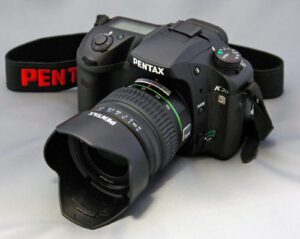
Well, I had been shooting digital reflex cameras since 2007 and upgraded as technology improved over time. One of the early camera bodies I had used was the Pentax K20D back in 2011. It had a whopping (!!!) megapixel count of 14.6 which was way over what I had used until that date – the 8mp Canon Powershot Pro1 non-interchangeable small sensor camera being about the highest to date. It was a solid camera which took me into the realm of architecture photography because of its wonderful detail sharpness and color rendition. However, its performance under bad lighting conditions was on par for the times (“on par” being more or less abysmal really) .

I remember that camera costing me a whopping €900 or so (without lens) and it was one of the camera bodies which fit my hand perfectly. I never purchased a camera with such a wonderful and solid form factor since. So when I came across a very lightly used K20D from a German eBay seller for all of €129 in May’22 I did not have to think for a long time. I got the camera which was in pristine condition and sent it off to have the infrared blocking filter taken out and replaced by a 630Nm cutoff filter.

Illustration K20D By ほしけん – Own work, CC BY 3.0, https://commons.wikimedia.org/w/index.php?curid=7515920