

Intro
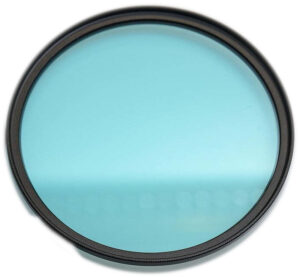
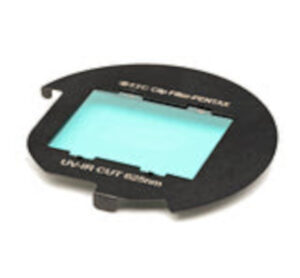 So in part 1 of this evaluation I introduced the hotmirror filter, its use and the two types of filter available: clip-in and screw-mount. I shared a few of my expectations as well as a few preliminary results as side-by-side samples of both types of filter next to a control image shot by a non-infrared camera. I assume anyone who read that may have made some very initial assumptions in the meantime, as have I.
There was a strategy to lettings things sit in my mind for a while rather than using what seems to be today’s fashion: a single post or video with a solid and straight conclusion at the end, I wanted to not only think about what I saw but also take a single step on the way to a careful conclusion.
TLDR: if you want to hear me say “X is better than Y” this my not be a recommended blog for you to read.
Recap
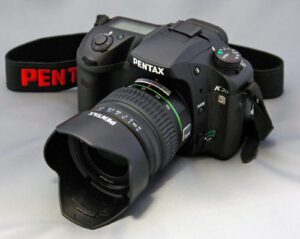
I used a regular, non-converted Pentax KP 24 megapixel APS-C DSLR body as the control, a Pentax K-3 24 megapixel APS-C DSLR body as the testbed and a single DA16-85mm lens to shoot all of the images in raw format. I tested an STC clip-in hotmirror filter against a lens-mounted 72mm threaded “normal plus” filter provided for this test by IRreCams in Germany, courtesy of Sven Lamprecht who was consulted about the test and kindly lends his cooperation.
The raw files coming out of this first test-run were converted with the open-source and cross-platform Darktable software which is software I have used for going on 20 years and fully supported by many tutorials and websites (including by IRreCams).
The end result of this first shoot is 24 images in jpeg format with each 4 exposure series covering a 180 degree horizontal sweep from directly into the sun (but sun just outside the image frame) to a shot with the sun at by back (so roughly 0 degrees, 45 degrees, 90 degrees and 180 degrees to the sun). Each run had the same 4 exposures at 16mm which is the widest angle this lens will allow as well as at 35mm which on an APS-C camera is roughly a “normal” field of view that our eyes also perceive. Finally, each body/filter combo was put through the same exposures so the KP without any filter, the K-3 with the clip-in and the K-3 with the screw-in lens filter.
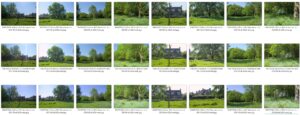
Exposure was left at aperture priority mode and F6.3 which I have always held to be the optimum balance for image quality on this particular lens. White balance was left on automatic mode and autofocus was engaged. The shots were lined up hand-held with trees and other markings in a small park as guidance. In the overview above you can see the 24 image files in the file manager on my PC, all converted to jpeg with the most basic of options in Darktable as I eluded to in my previous blogpost.
What’s next, what’s now?
Now (below) is my evaluation of this first batch of results, both in their unedited state as well as edited to try and equalize WB as much as possible and make some very preliminary conclusions on detail sharpness and clarity across the image. I’ll try and tweak some of the images beyond the first rough output and compare some individual color renderings.
Next (in a future part of this blog), the K-3 will travel with me to the harsh light of the Middle-East for a few weeks (Israel to be specific) so I can test both filters against each other in various different situations and potentially try some night shooting as well. Seeing my results from the first run, I will be using a hood this time around which will benefit both filters I expect and hope. Taking one cue from the first shoot, I will leave the KP at home because I feel I have now established enough of a baseline to not have to juggle around two bodies to make the point of this comparison.
So, get to the point!
The first images to end up on my torture bench are the ones shot to emphasize their, as Sven so lovingly put it, “known weak spots: backlight situations and inside a forest“. These are the shot which are straight into the direction of the sun with the sun just outside the image frame. And yes, straight on we get the weak spots highlighted with some flare and light streaks.
Back-lit (worst-case) outcome
The control image which I remind you was shot with the KP and 16-85 but without hood show a neat bit of flare with one very bright spot at the very edge of the frame and a few secondary, slightly weaker, reflections a bit lower. Not a bad performance for an average lens without hood.
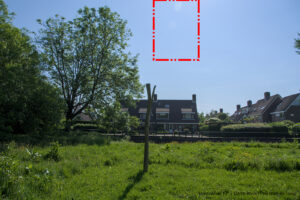
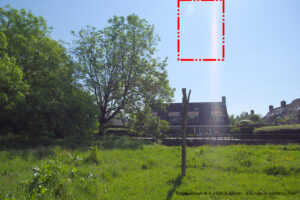
If we look at roughly the same spot (remember that all of these were hand-held) on the image shot with the STC clip-in filter, there is a drastic difference. The flare is roughly similar but it is now joined by a light streak which covers almost the entire height of the image and which has some kind of color diffraction effect (band of rainbow colors) further down which looks like what comes out of a prism. Something, potentially on the frame of the clip-in filter itself, has a disastrous impact on the image making it virtually unusable. The sky is totally bleached out across virtually the whole frame and the green of the grass and the trees is quite acceptable in the places it is not obliterated by the rainbow halo streak. The whole image seems a bit washed-out.
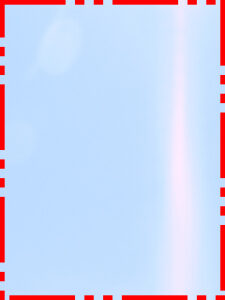
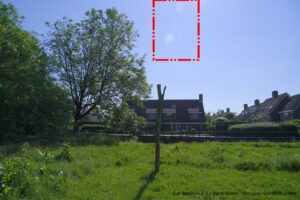
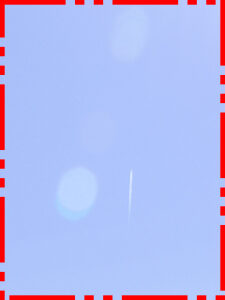
And, lastly, we look at this spot shot with the “Normal Plus” lens filter. Please do not mind the small vertical white streak to the right of the flare. I live not far from Amsterdam Schiphol Airport and these darned planes do not take my testing into account. It’s merely a plane but I thought it best to leave it in there and start cloning pixels in order to leave the image as pristine as possible. The contrail does not interfere with my conclusions about the flare. As to that flare, it is ever so slightly more pronounced than the filterless control image but, taking into account the absence of a lens-hood, it is entirely acceptable (and easily corrected in post as well). Sky color is excellent and I cannot really see any difference with the control. TBH, I was hard-pushed to find any color cast at all but overall, color temperature seems to be slightly cooler which is easily corrected in post.
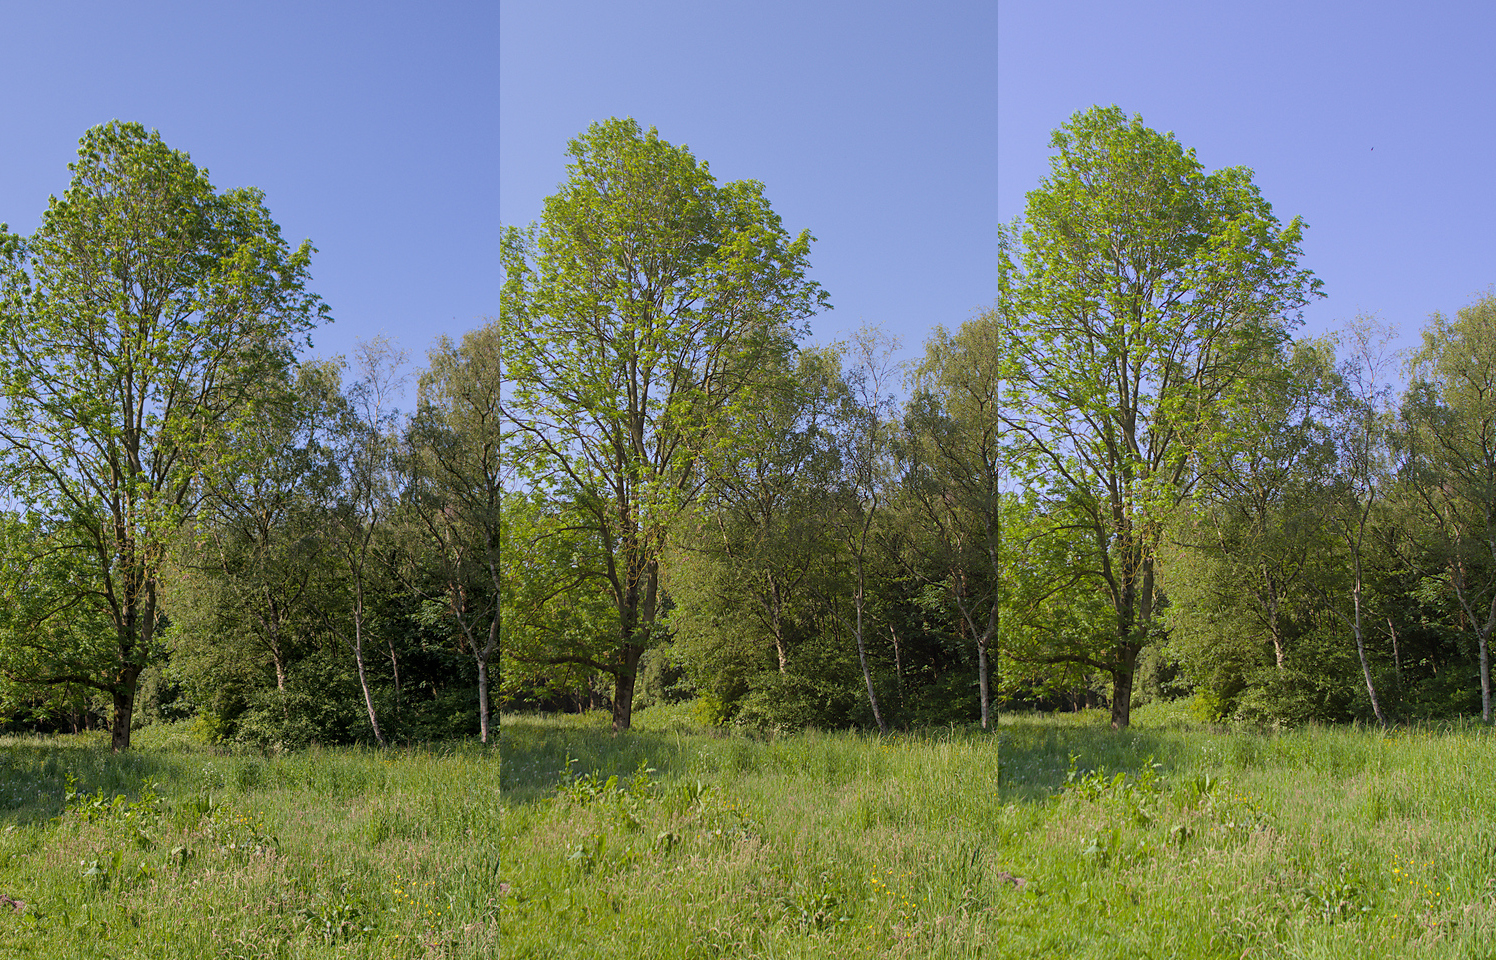
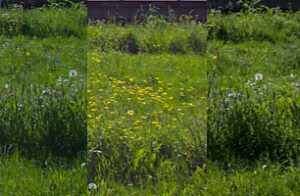
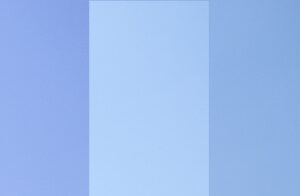
Here are a few small patches of sky and grass side-by-side. Control is on the right, STC in the middles and IRreCams on the left
Outcome of the 16mm “worst-case scenario” is therefore:
- The image from the control camera is the clear winner – not unexpected as I’ve always held to not using filters unless they have a clear photographic purpose. There may also be slight differences in the way the KP sensor handles colors versus the K-3 which is of a slightly older generation. Detail sharpness and contrast is at the very high level this sensor can deliver at its base ISO and these settings (F6.3 and 1/400sec)
- In a well-deserved second place is the Normal Plus lens filter from IRreCams which really leaves nothing on the table. The very slightly more pronounced flare is merely the unavoidable result dictated by the laws of physics and the outcome of adding two extra refractive glass-air boundaries for light to reflect off. All in all, I do not own many filters with such an effective coating as this one and I’m sure that using the lens-hood as anyone sane would do, would really make the outcome indistinguishable from the control other than the slightly cooler color temperature. Detail sharpness and (micro)contrast are impeccable.
- The STC clip-in filter is the big loser here. Under these conditions, with a wide-angle lens under backlit conditions, the outcome is simply unusable. Sharpness, contrast and color all suffer horrendously.
The same back-lit position but now zoomed in to 35mm
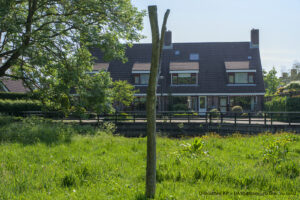
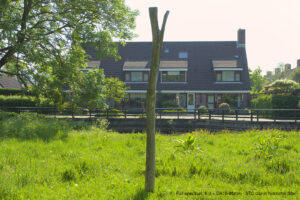
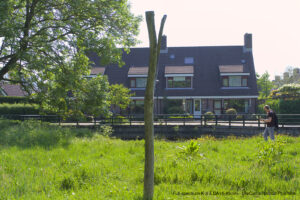
A lot of differences have now disappeared and both the clip-in as well as the Normal Plus filter deliver decent results even though the “naked” control beats them both hands down in terms of overall contrast and color fidelity. When it comes down to comparing sharpness and detail, the Normal Plus filter pulls ahead slightly over the clip-in filter but they both deliver acceptable results.
Outcome of the 35mm scenario
- No surprises here, the KP without filter (or rather with its factory-installed filter bonded onto the sensor) wins again
- The IRreCams Normal Plus filter comes in a respectable second place. Color, contrast, sharpness are all acceptable for everyday shooting, vacation and family snapshots with the sole exception of the most demanding nature shots. The greens of both grass and trees is slightly more luminous than the control but this again can be dealt with easily in post – even in batch mode.
- The STC clip-in filter comes in surprisingly decent. Still in last place but only by a small margin. Equally usable for everyday shooting, vacation and family snapshots
Next series at 90 degrees angle to the sun – polarization test
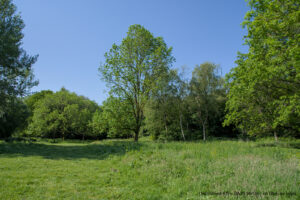
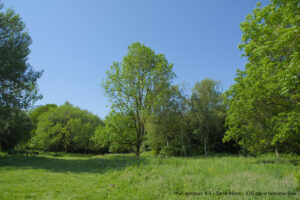
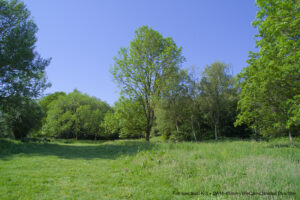
This is where the STC clip-in starts to match the Normal Plus screw-in IRreCams filter and in one aspect even overtakes it slightly. As you may be able to see on these thumbnails (and remember that the larger images are available in my gallery) the screw filter inroduces a tiny bit of a purple cast in the sky. It is easily dealt with by addressing the WB adjustment in Darktable rather than accepting the camera settings. Sharpness, contrast and detail are perfectly fine across all three test images and I’d be harp pushed to determine which is produced by which filter combination if I didn’t know.
Same applies to the 90 degrees at 35mm focal length:
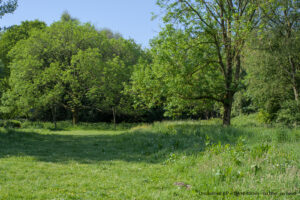
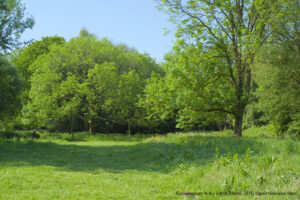
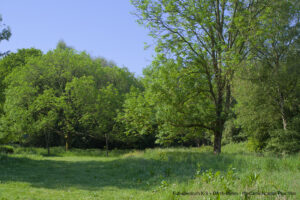
Outcome of the 16 as well as 35mm scenario at 90 degrees to the sun
- I’ll still give the control first place but I’d stress again that this may just be the improved output of the KP’s sensor over the K-3. Even though the megapixel count is near-identical, the KP was released in 2017 and the K-3 is a full 4 years older
- This is an tie for second place for the clip-in filter and the screw-in version
Next series at 180 degrees angle to the sun
I will actually leave the conclusions to you as you can see the images in the gallery itself. The trend set with the 90 degrees batch continues and both filters perform equally well. Yes there is a bit of a cooler cast on the green foliage for the Normal Plus filter but that is a simple WB issue which can easily corrected for in post. Both filtered images shot with a full-spectrum K-3 compare favorably to the similar image shot with an unmodified KP DSLR and the same lens.
Overall conclusion after round 1
I would find the Normal Plus filter as supplied by IRreCams superior to the STC clip-in filter from a photographic perspective. In terms of color, detail sharpness, contrast and resistance to flare it clearly pulls ahead in most (but certainly not all) scenarios. The STC may still be interesting from a financial perspective as one size will truly fit all of your lenses while obviously a screw filter needs to be purchased for every thread size of every lens. Alternatively you may use step-up rings but that would introduce its own set of issues such as not being able to use the lens hood.
I would say that in real life, I might be tempted to only use the clip-in if my expectations are to shoot infrared images as well as simple family vacation snaps with a few lenses in my bag and light travel. If however, my plans are to see the sights and take some decent land- and cityscapes as well as architecture shots using wider angles, I would heavily lean towards the Normal Plus filter with its superior contrast rendering and resistance to flare.
Next time
What I have not covered and will do in a few weeks time is indoor shooting, evening/night shots and shooting under very harsh Mediterranean summer light conditions. Watch this space! Until then, have a great summer!

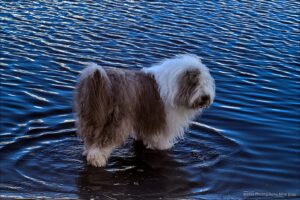
 Usage of IR photography dates back to the early part of the 20th century. In WWI, IR photography turned out to be great as images using the IR spectrum were not affected as much by atmospheric haze as normal photos. IR images also show huge differences between vegetation and buildings or vehicles whereas bodies of water (streams, lakes etc.) turn a very dark hue, almost pitch-black.